← Back to Allie's Digital Garden
Raspberry Pi 4 Film Simulation Camera 📸
Raspberry Pi Film Simulation Camera Part 1
For the last month or so I've been working on making a film simulation camera with a Raspberry Pi 4 and a broken film camera. The plan is to stuff the RPi into the gutted film camera, and run some post-processing on images after taking a photo to make them look film-like.
This project is slow moving mostly due to having to buy and wait for parts, but I'm definitely starting to make some big progress in the last week or so. The biggest challenge is going to be figuring out how to fit everything into a camera, but hopefully 28 years of crafting will help me out 💪 🎨
General Info
Hardware: Raspberry Pi 4, Raspberry Pi Camera Module 2, push buttons, Ninoka NK-700 film camera (haven't received yet, not sure it will work size wise yet)
Software: Python, Picamera 2 library, Pillow Lut Tools, Filmgrainer (TBD)
Github link - not an accurate representation of the Pi code yet. I've been working with the images on my normal laptop because it's easier. When the code for the Pi is set in stone, I'll push it to this repo.
TODO list, in no particular order:
- ✅ Set up Raspberry Pi 4 once all components come in
- ✅ Set up RPi Camera module & test it works
- ✅ Learn about LUTs and HALDCluts
- ✅ Programatically apply .cube files and/or HaldCLUTs .png files to an image with Python
- ✅ Programatically apply realistic film grain
- ✅ Set up film simulation code to run on RPi
- Set up shutter button that will take a photo on button press and then run post processing
- ✅ Add boot-up code to activate the project virtual environment when turning on the RPi
- Figure out portable power source
- Add on/off button to RPi
- Somehow get the RPi inside of a film camera (aka figure out how to cut metal and plastic 😳)
- Write up a tutorial of what I did once things are done
How it's going
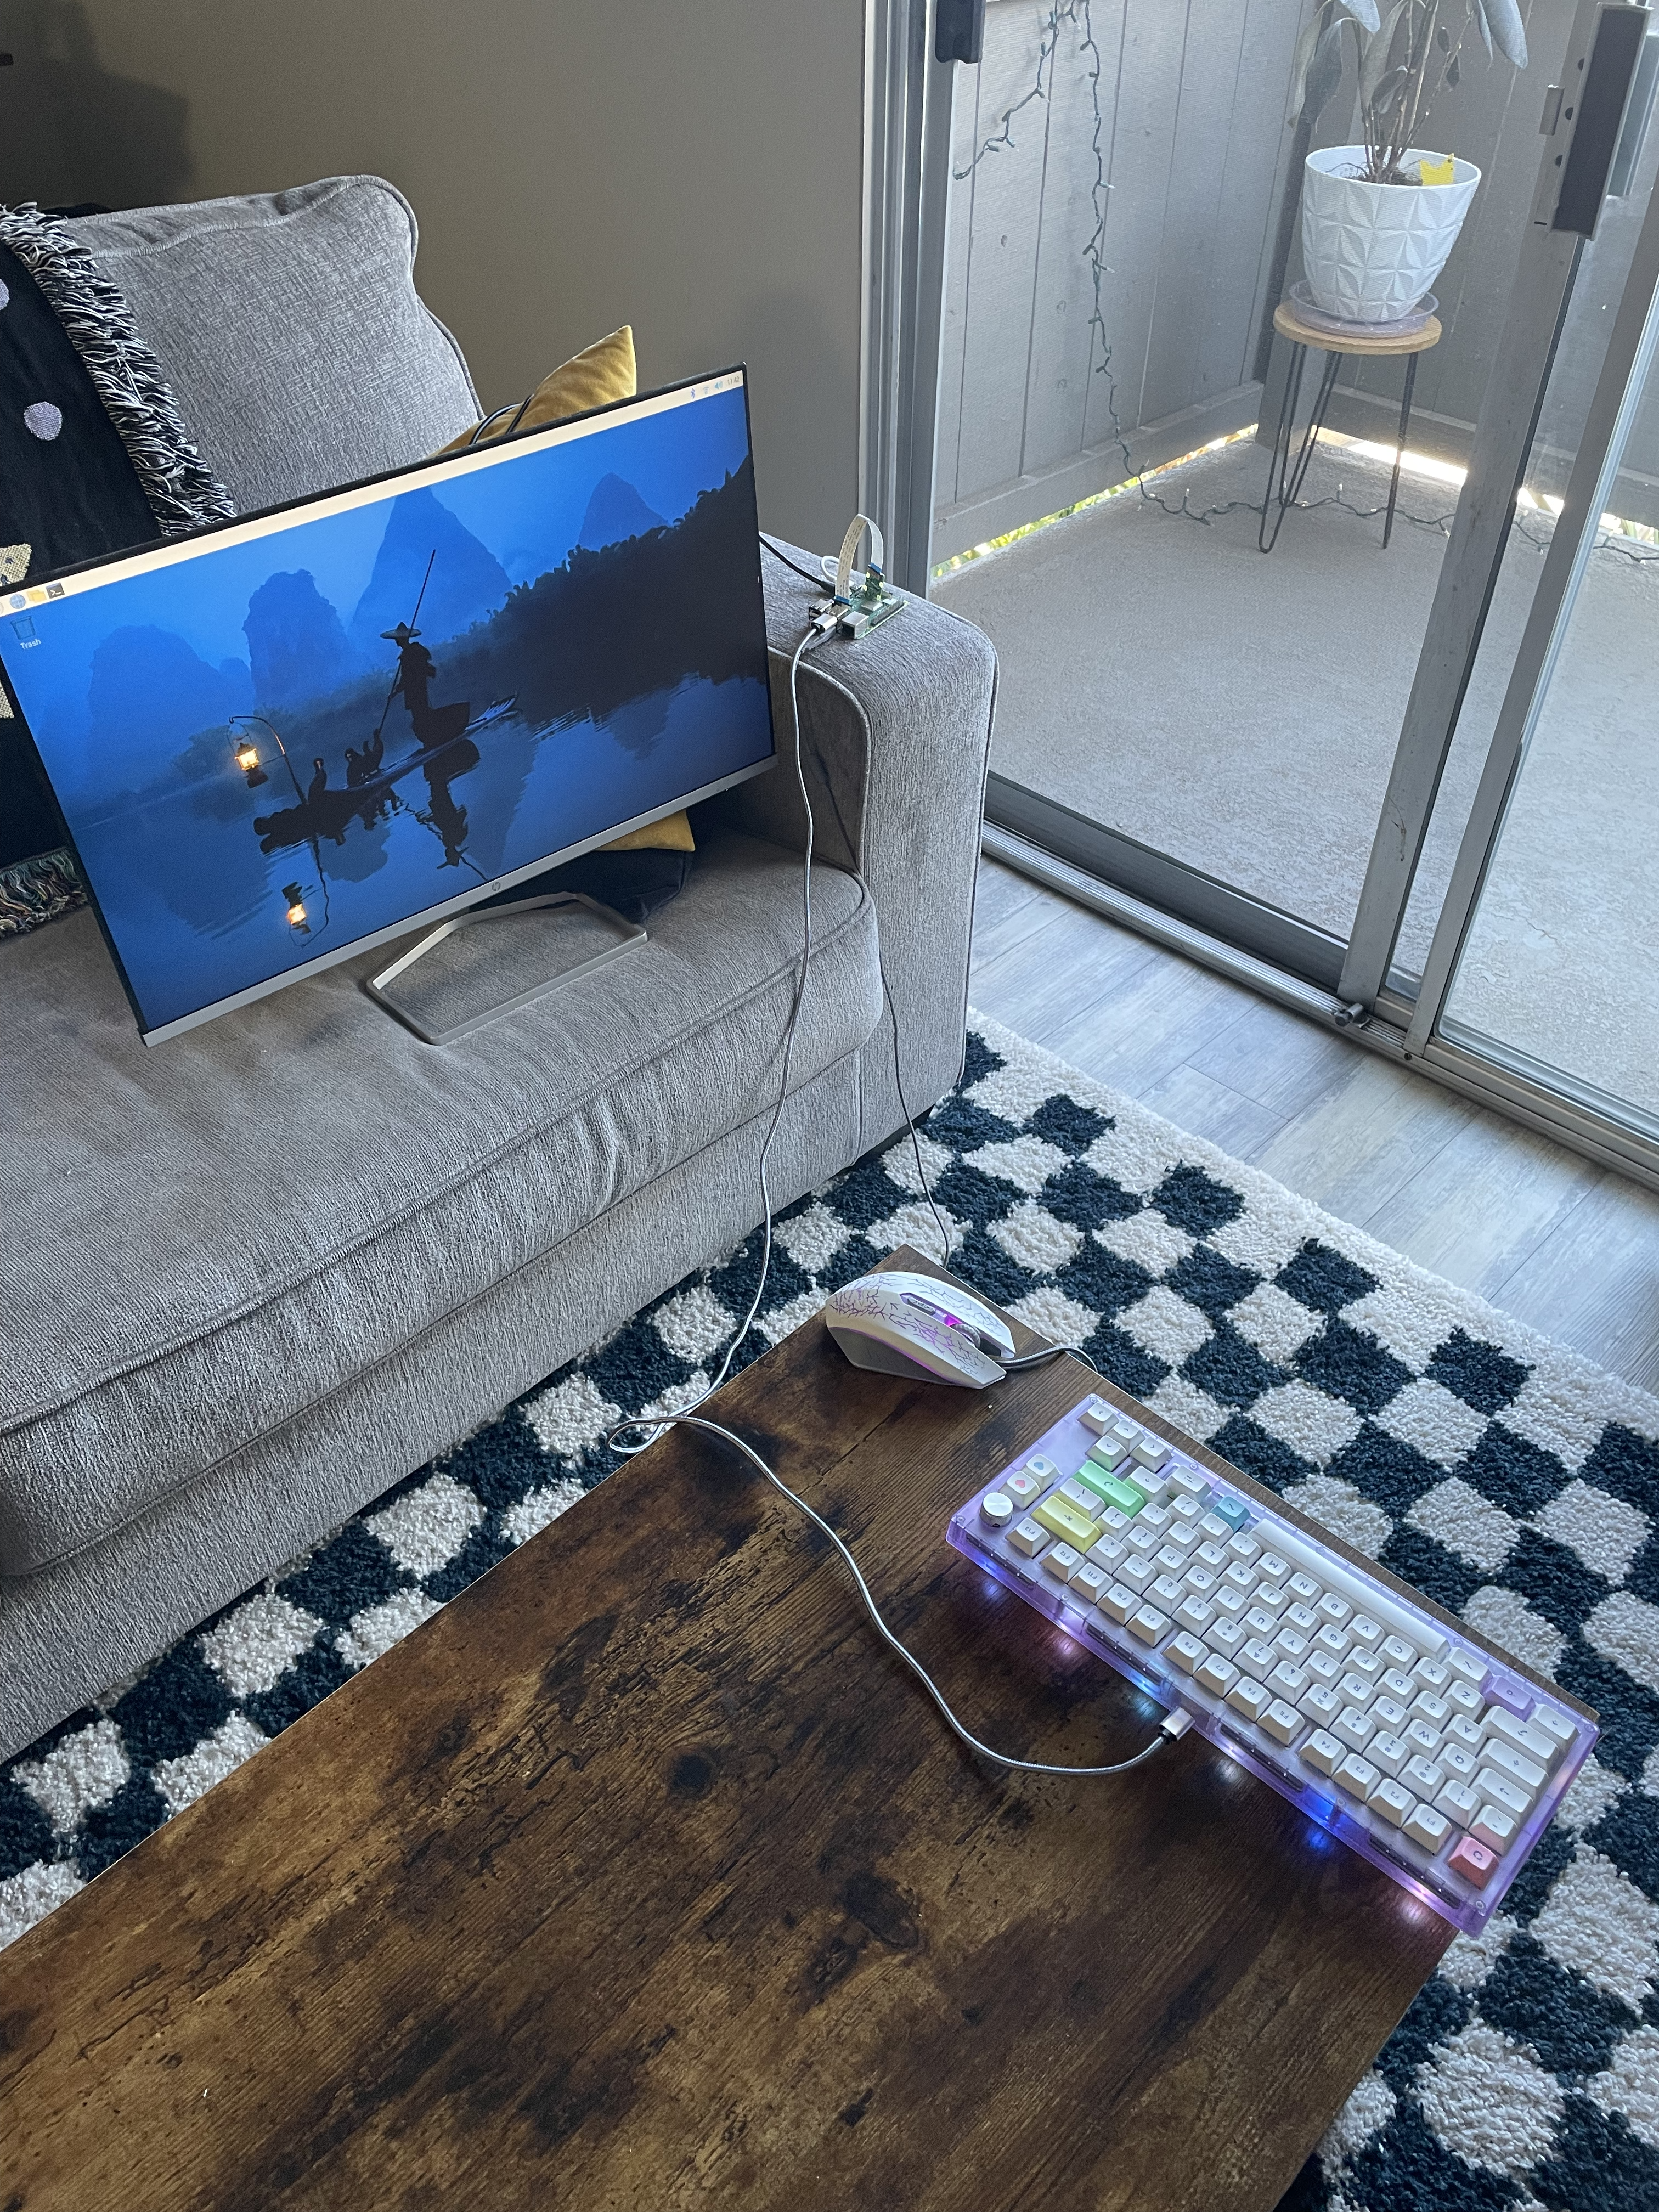
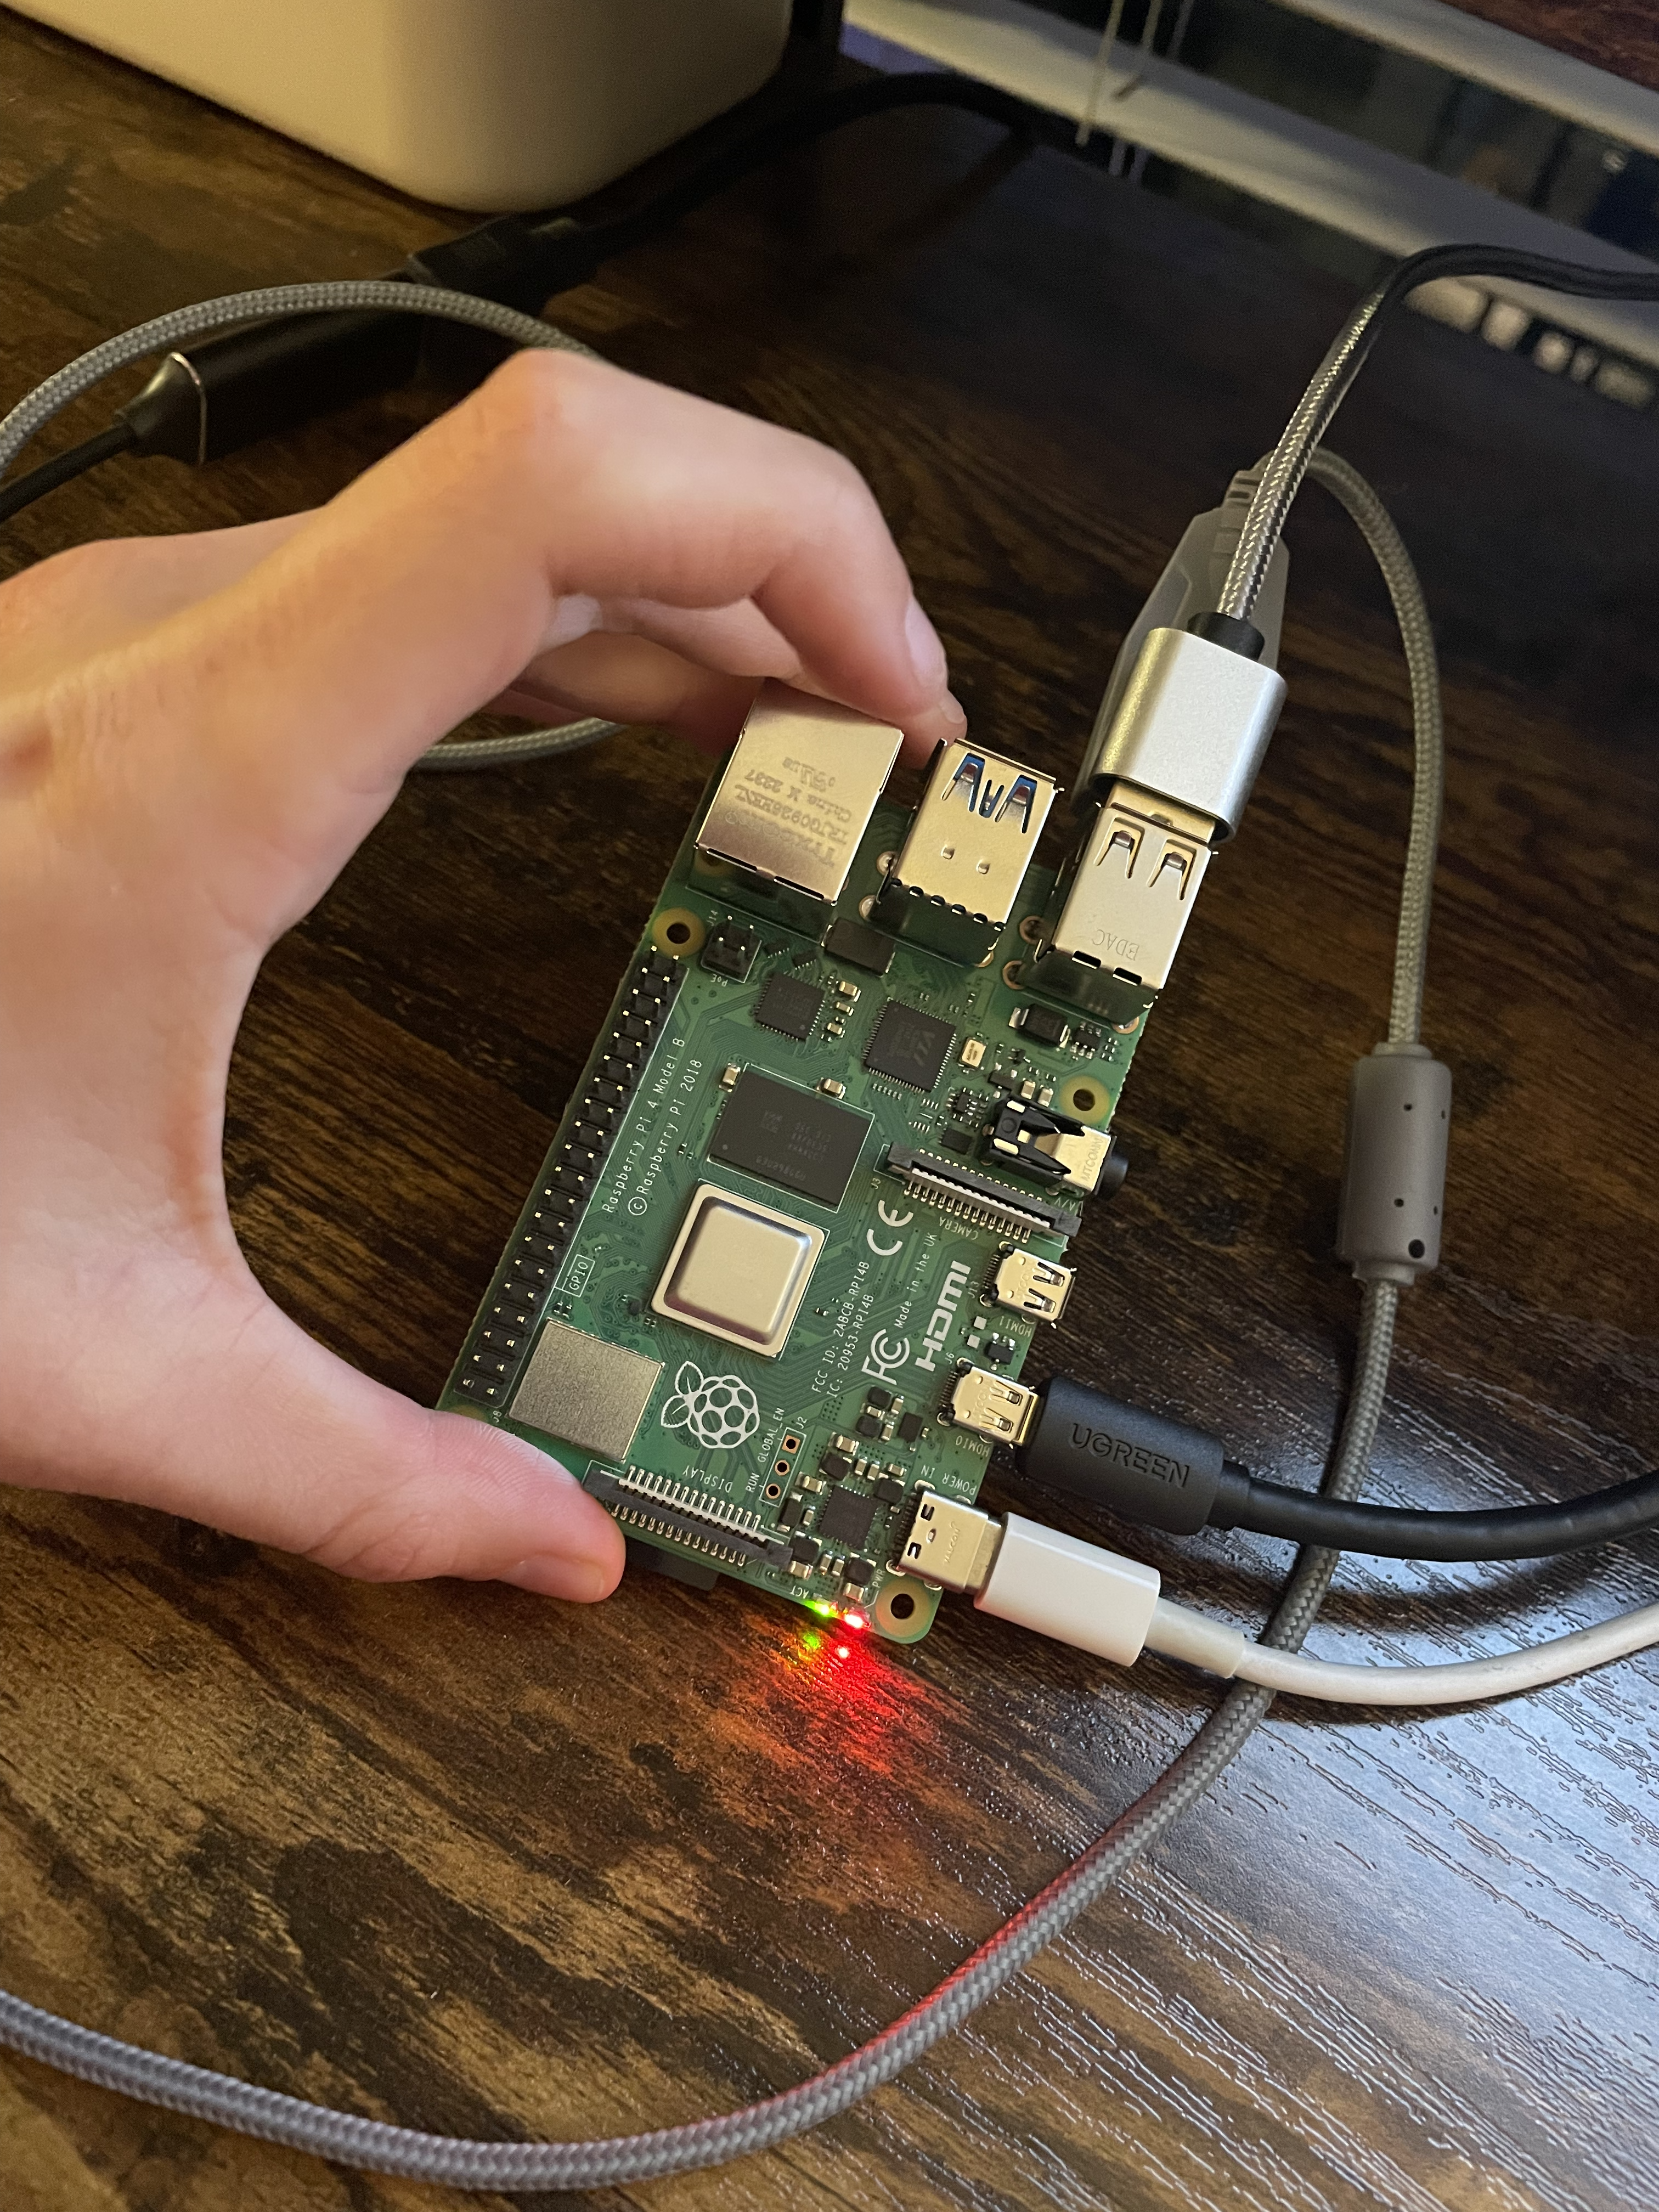
At this point in time, I have my Raspberry Pi and the camera module hooked up and working. I am using a monitor/keyboard/mouse setup with it, and I'm able to take photos and run post-processing code on it. Here's the setup:
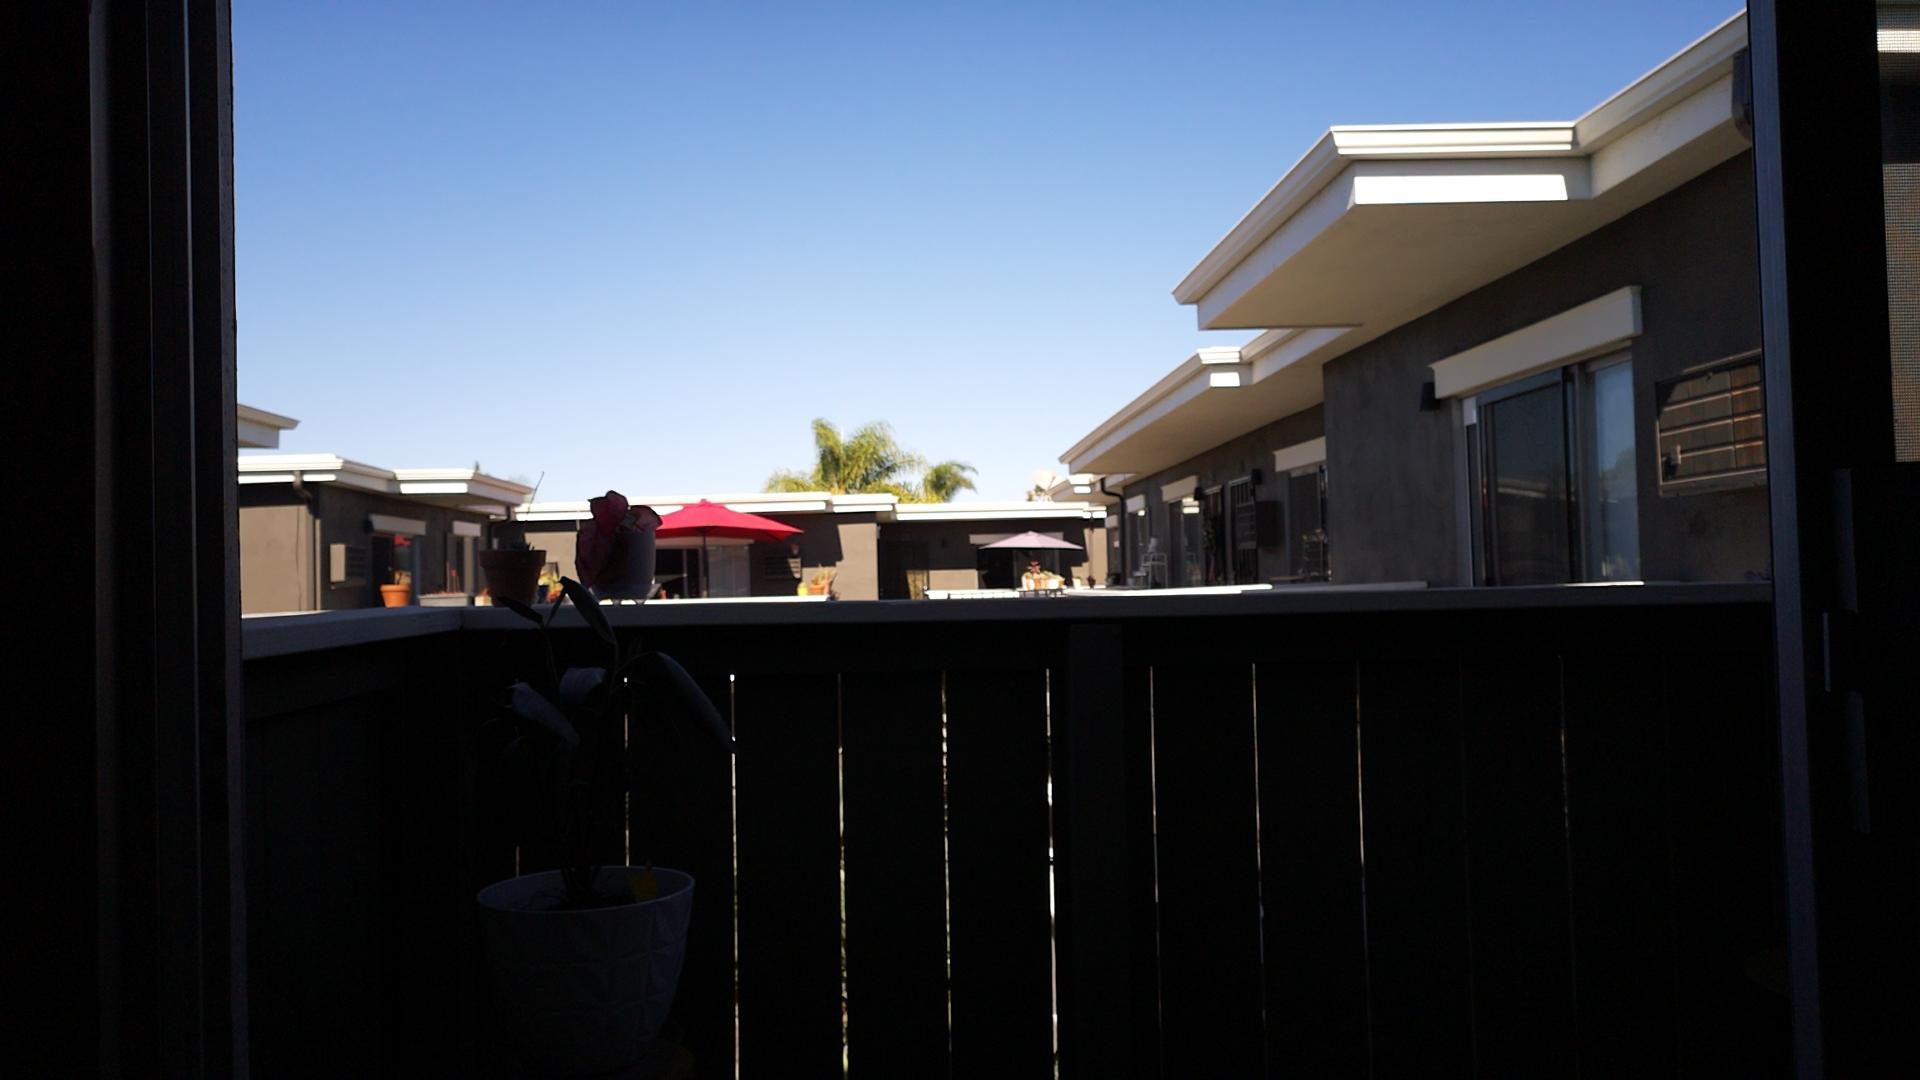
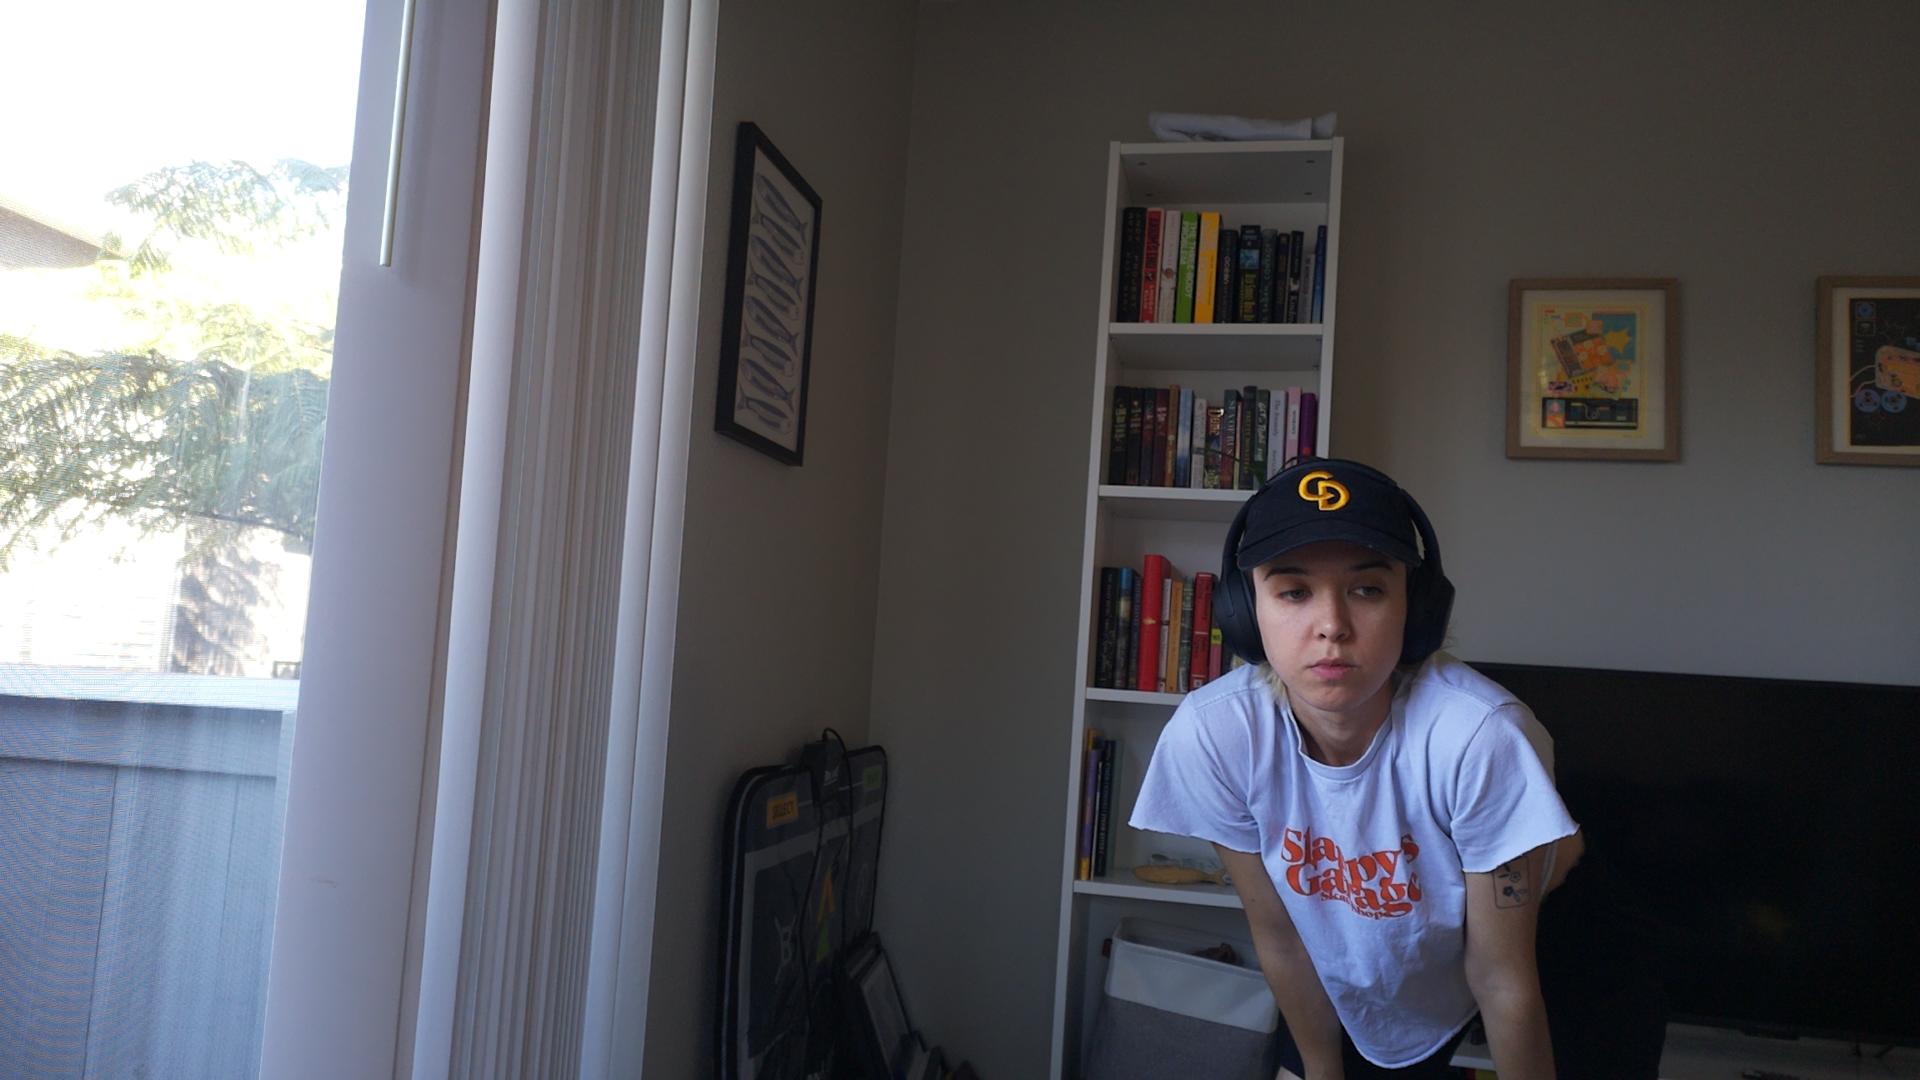
I've been really impressed with the quality of the photos that the camera module takes on it's own. Here are a couple photos I took with it, no post-processing applied:
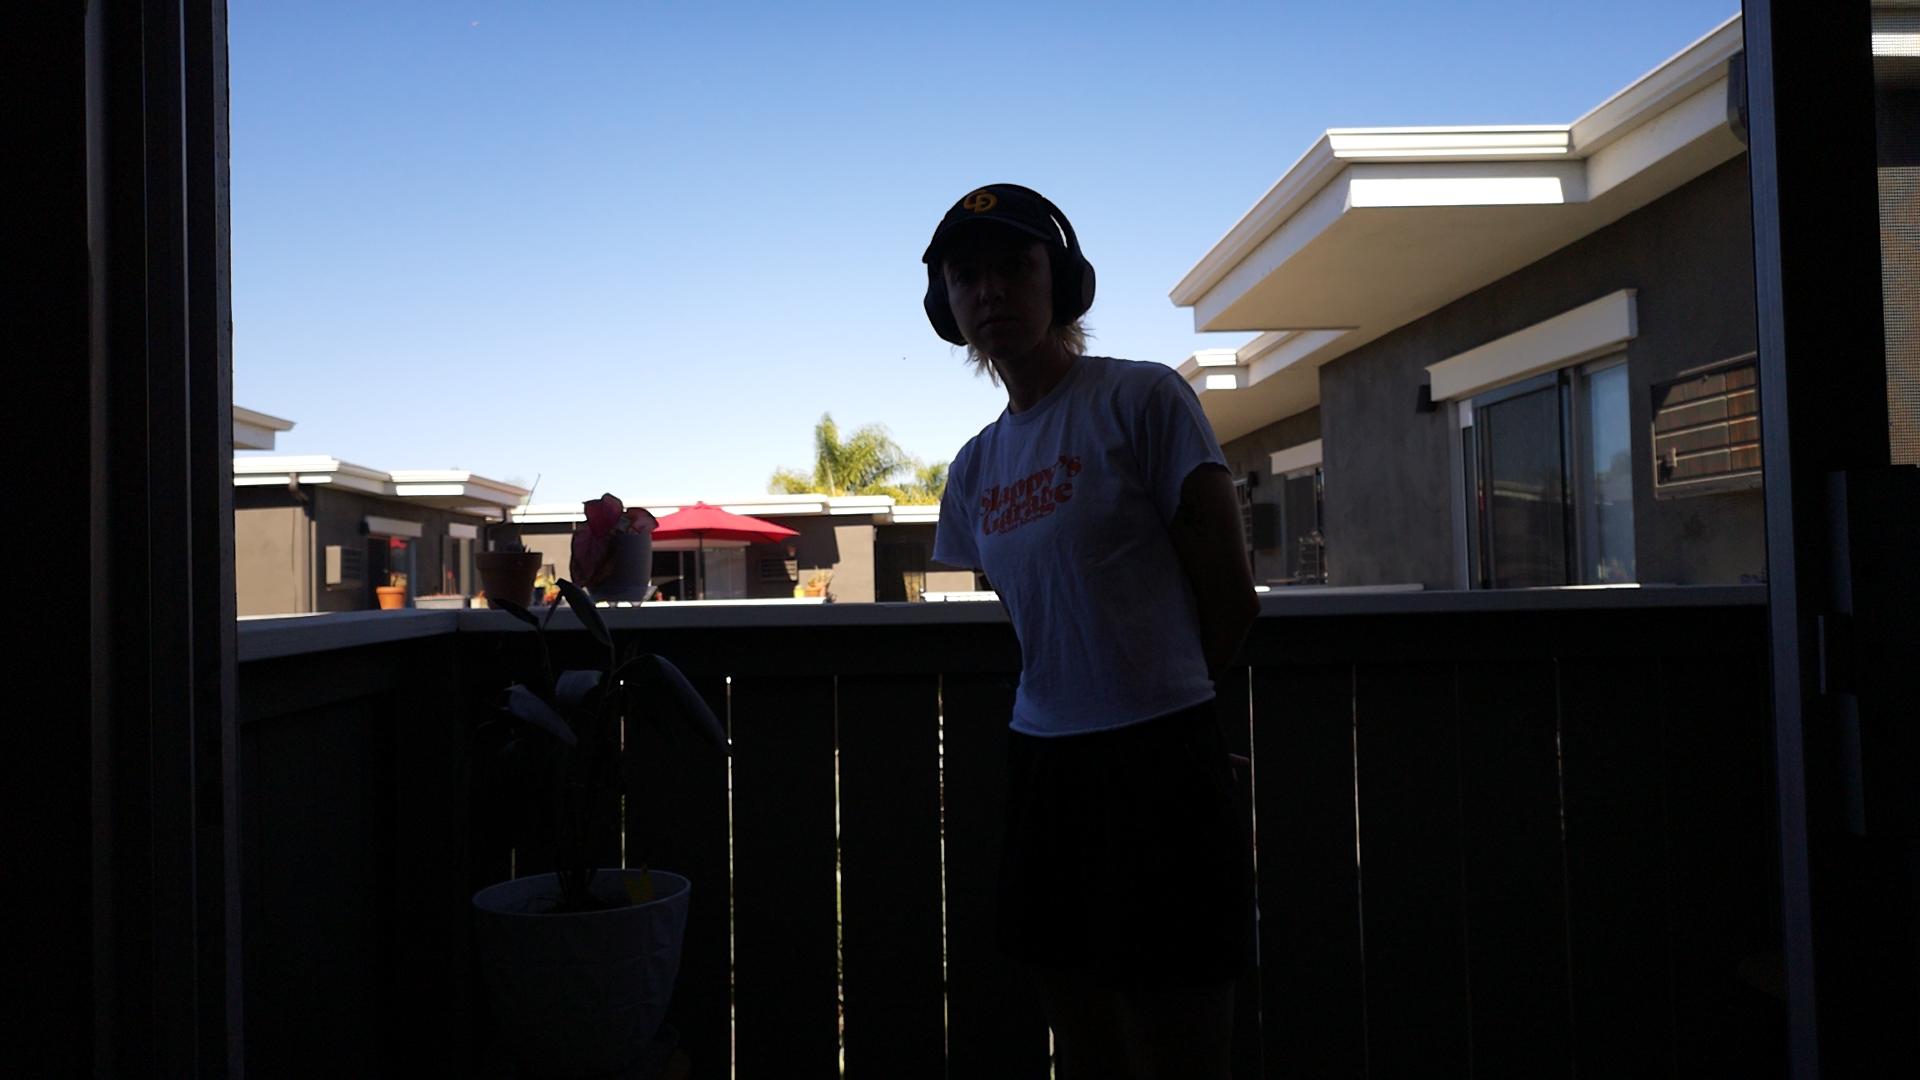
While I wait for the broken camera I ordered to come in, I've been noodling with different film simulations.
I'm using LUT .cube files for this, since they are pretty readily available for free.
On top of LUTs, I'm using a tool called Filmgrainer that I found. I ultimately might want to make my own grainer, but I don't know really anything about photo editing, so using this package has made it easy to tinker with different gamma, saturation, and power levels.
But for now, I've been testing out a handful of LUTS and playing with grains. Here's what I have so far:
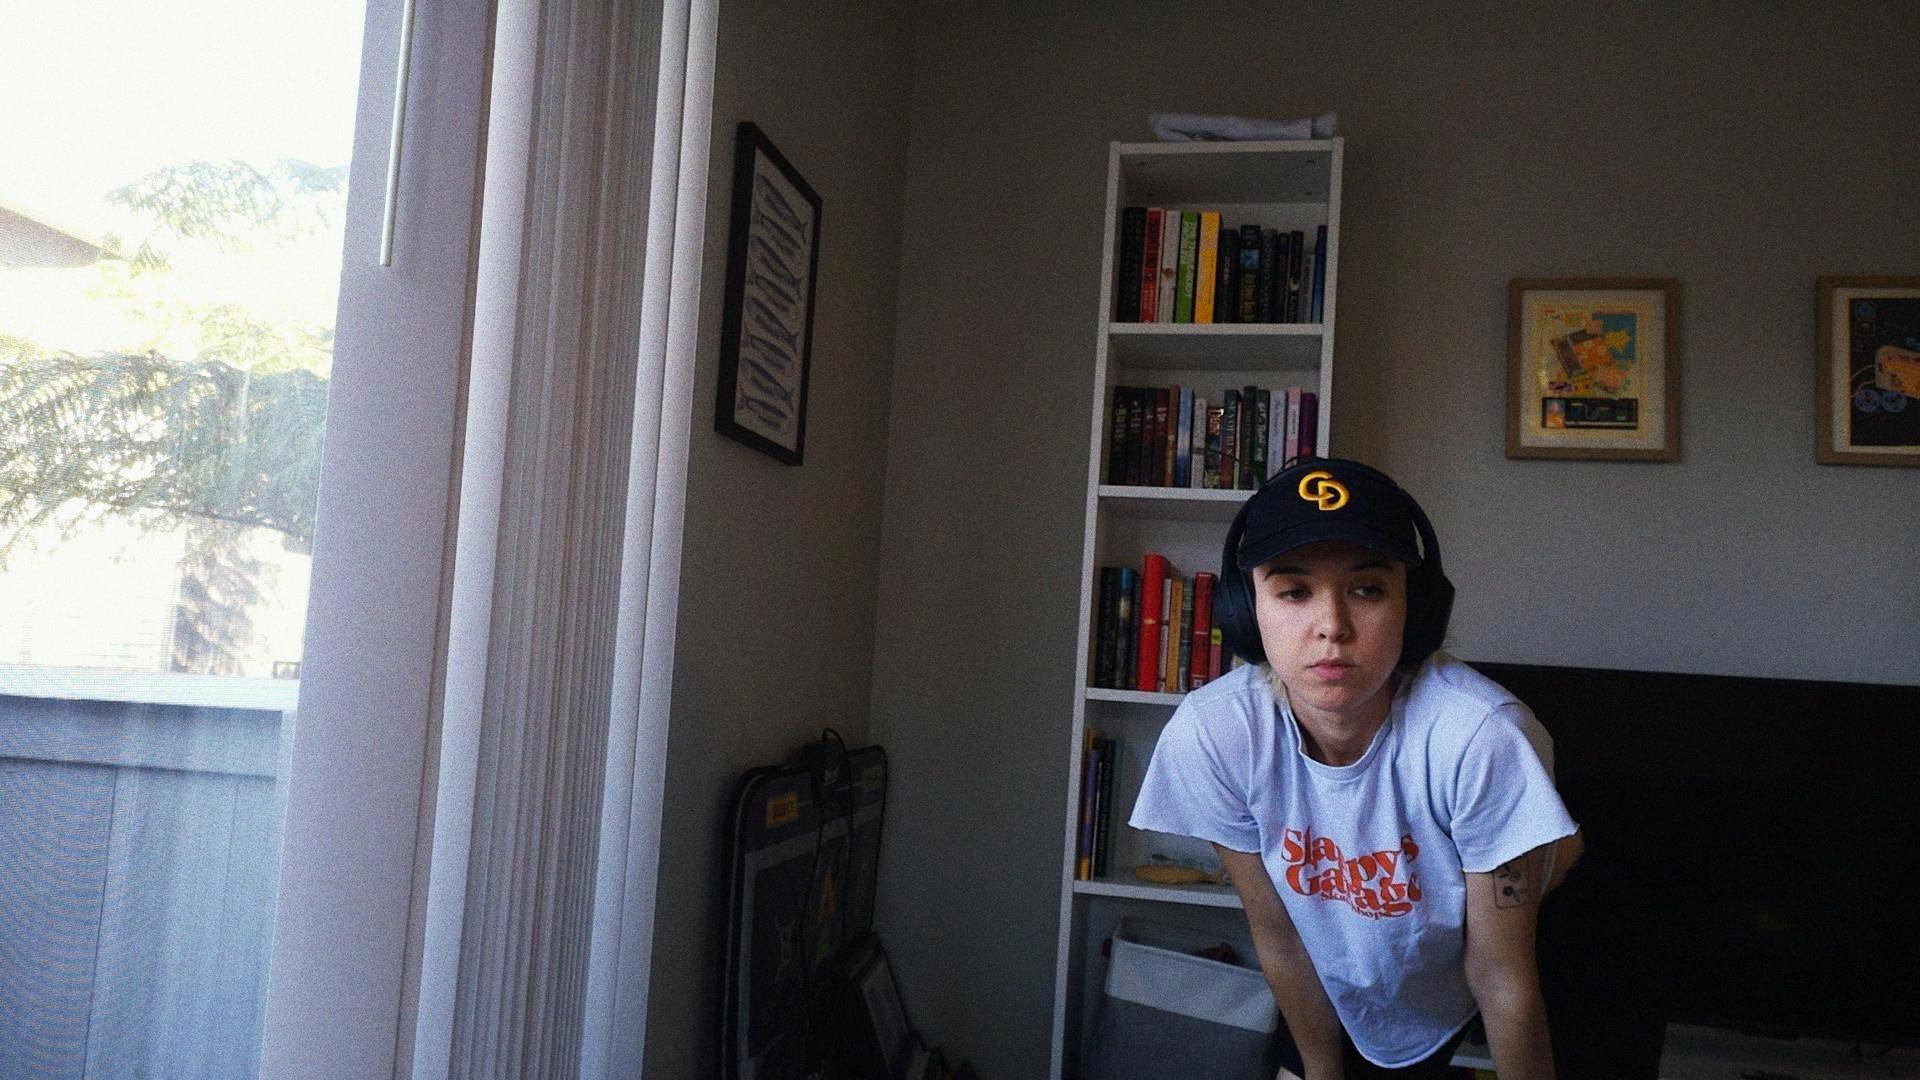
Kodak Color Simulation
Definitely my favorite LUT so far. I like how it warms the colors instead of washes them out like a lot of film does. I'm not sure on the grain yet, I think I need to tone it down a bit.
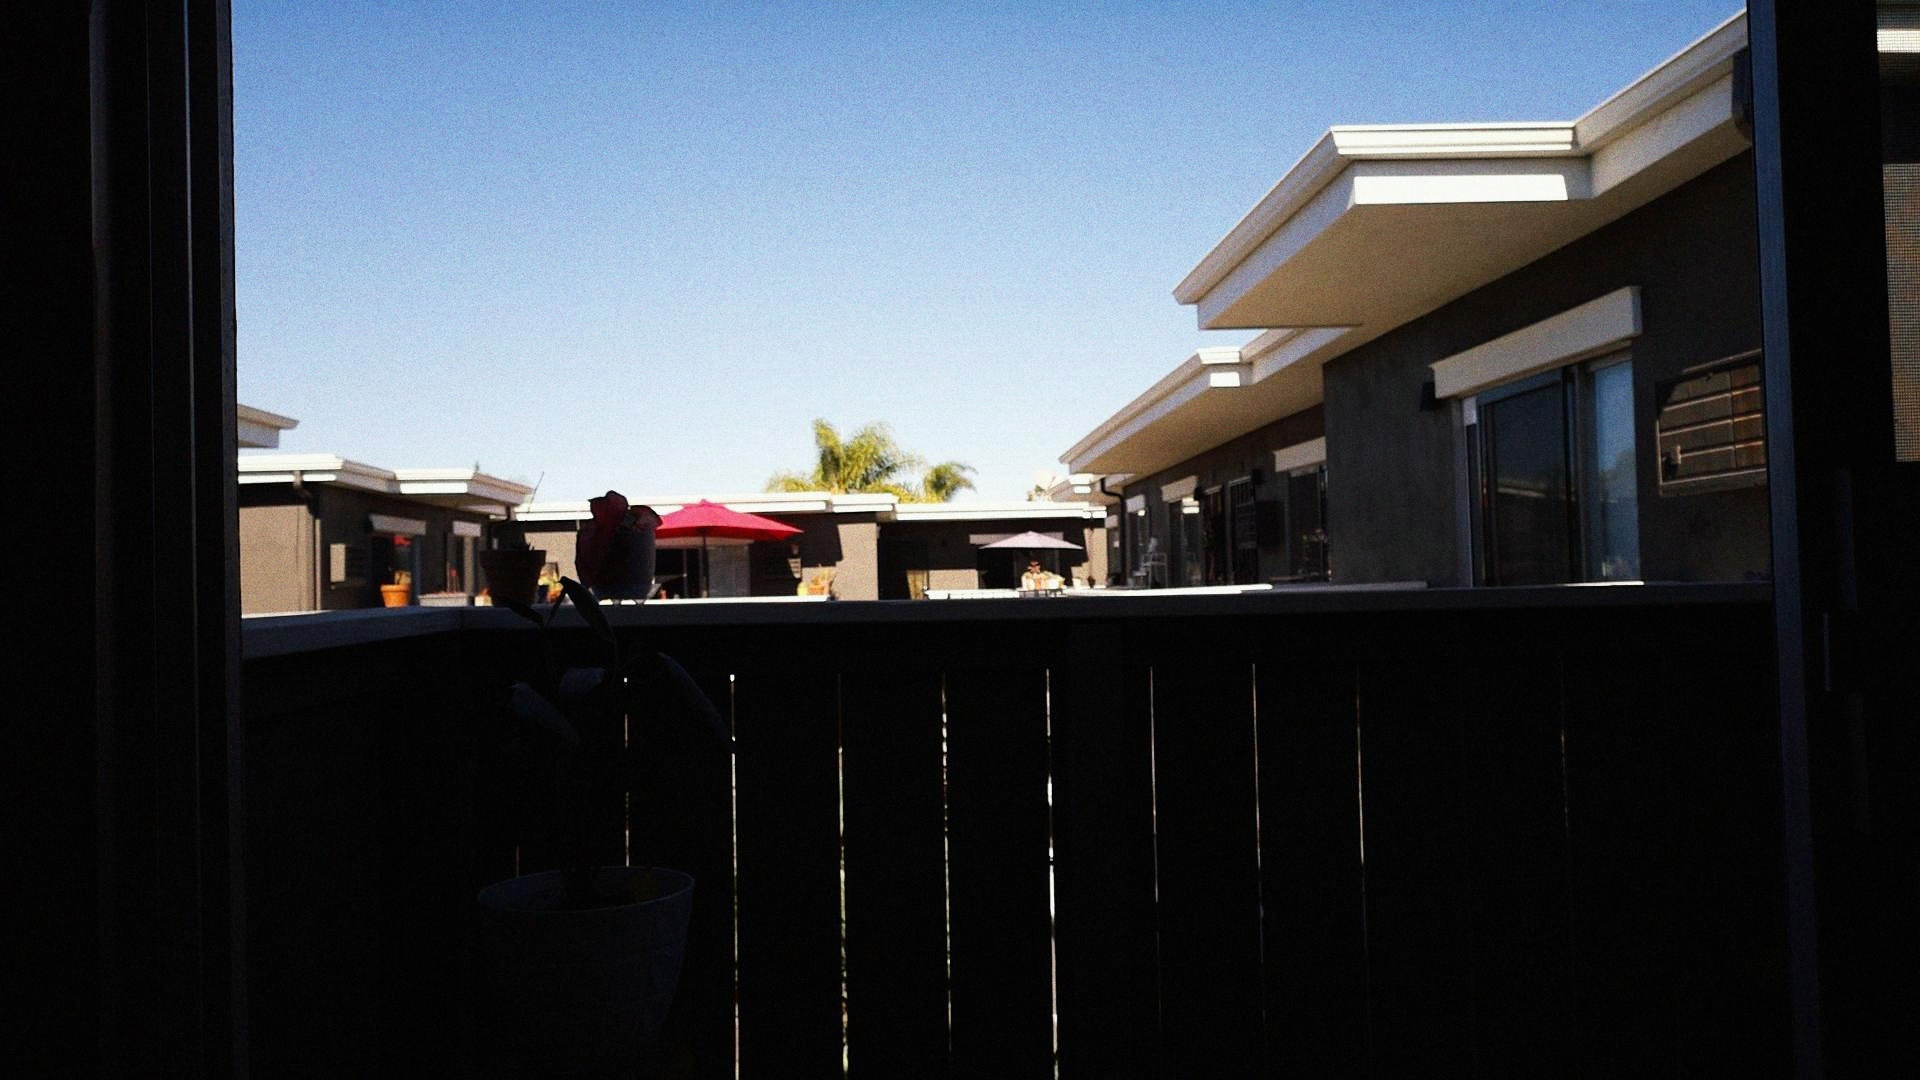
Kodak Portra
I like how the photo outdoors looks, but the indoors photo is too dark and green for my liking.
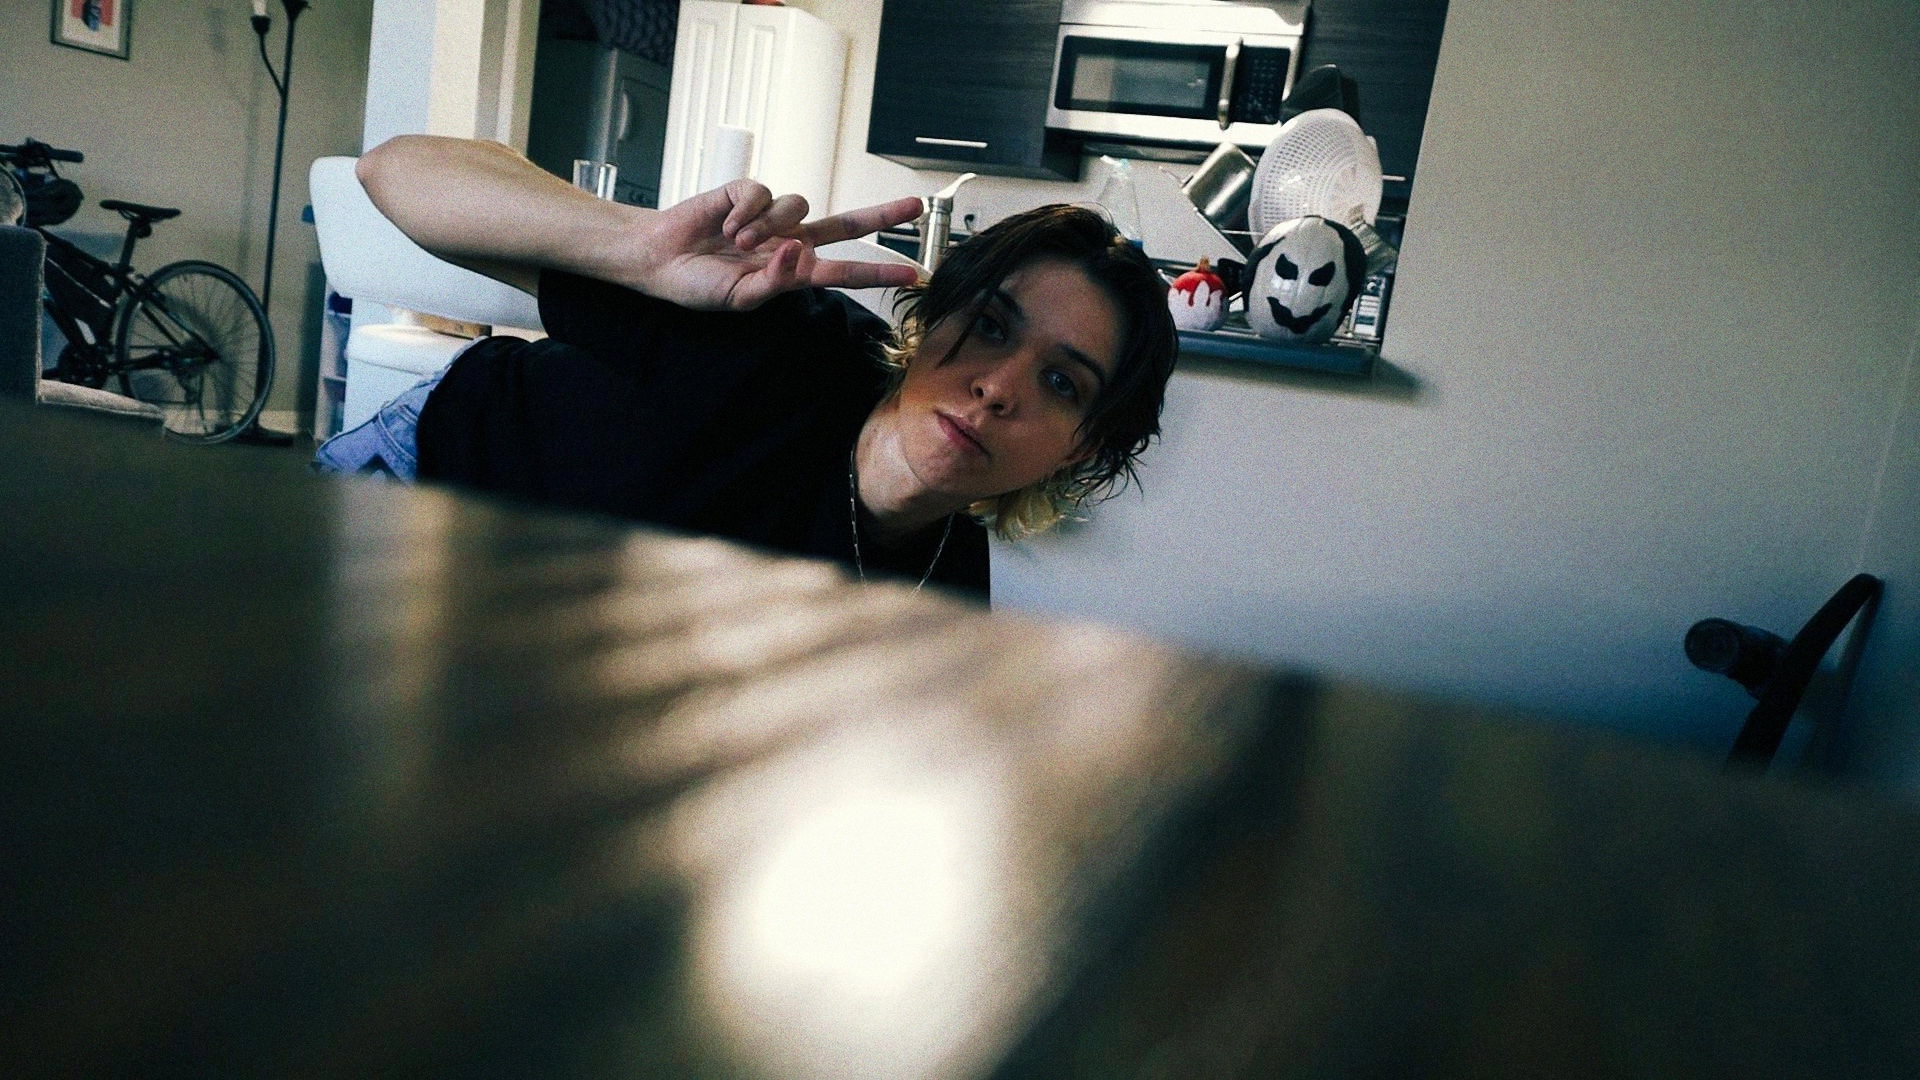
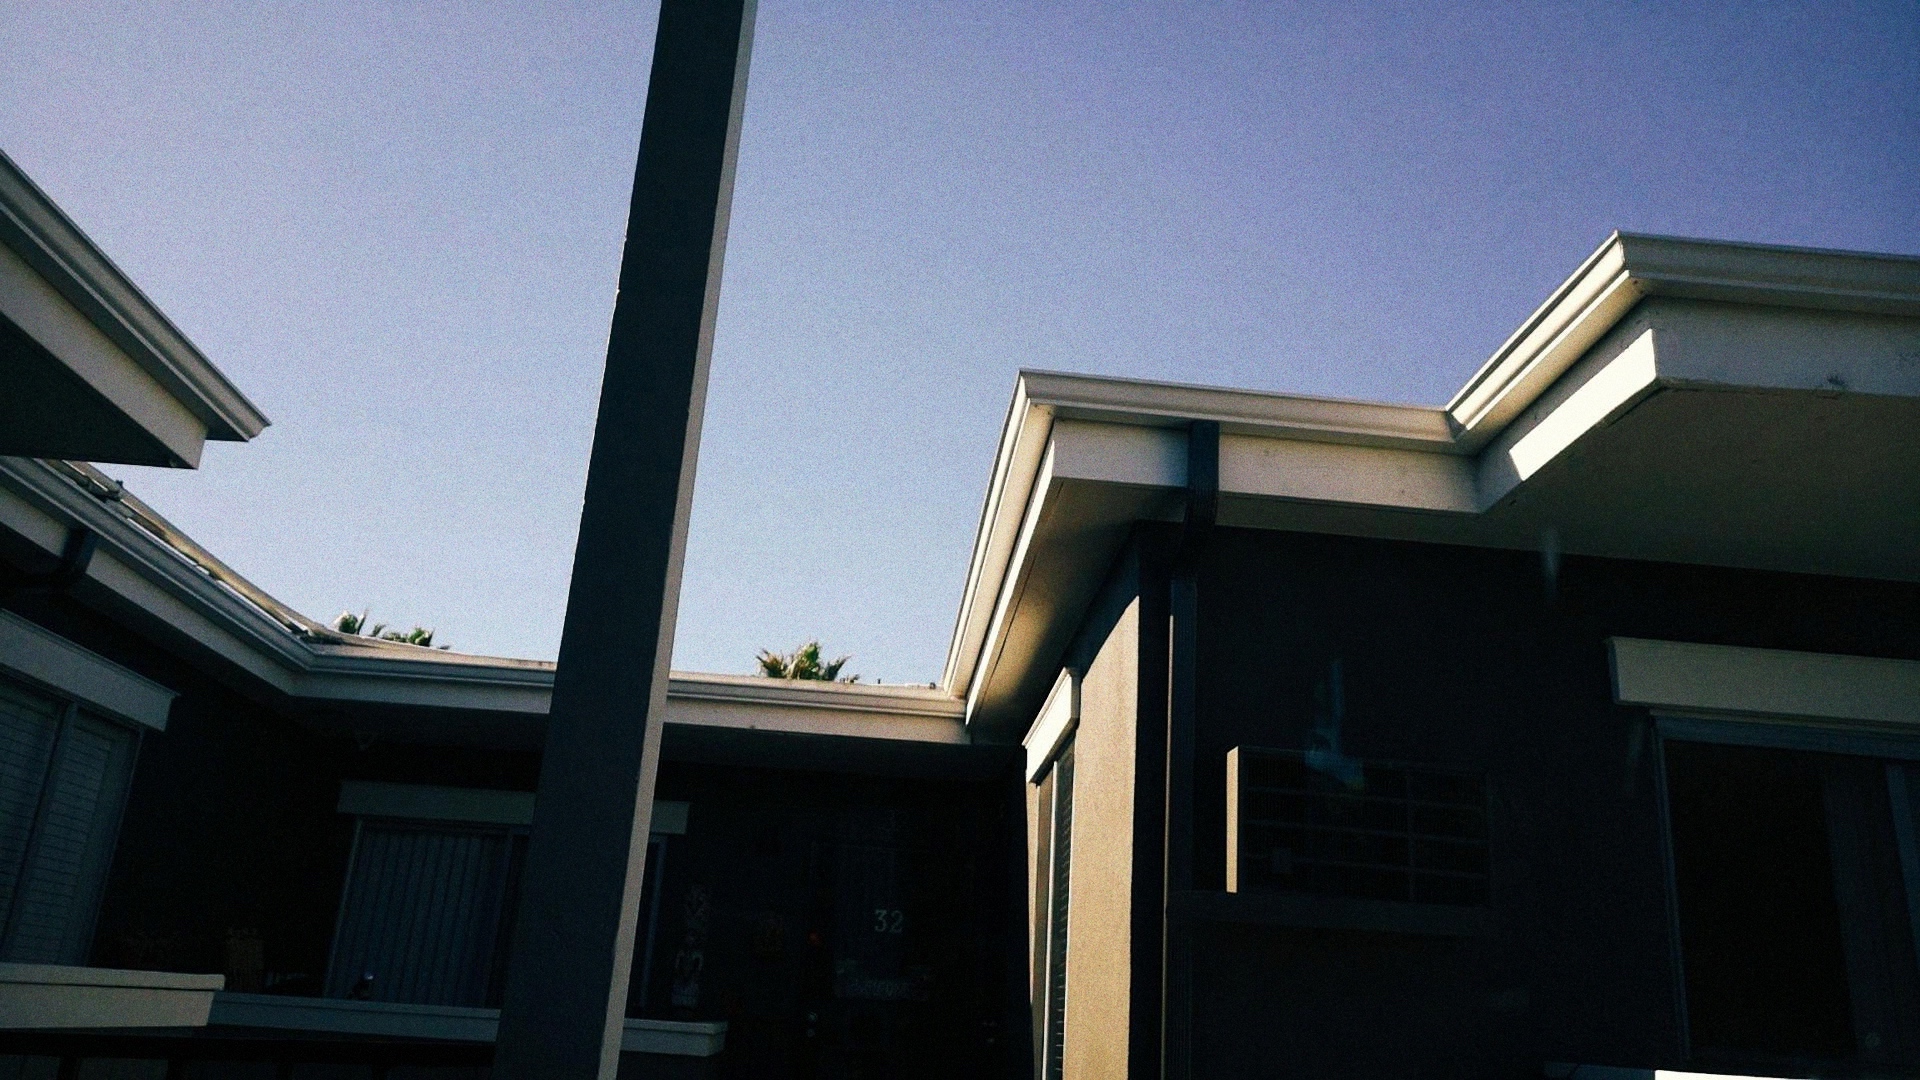
Fuji Film
Colors are pretty dulled, not a huge fan.
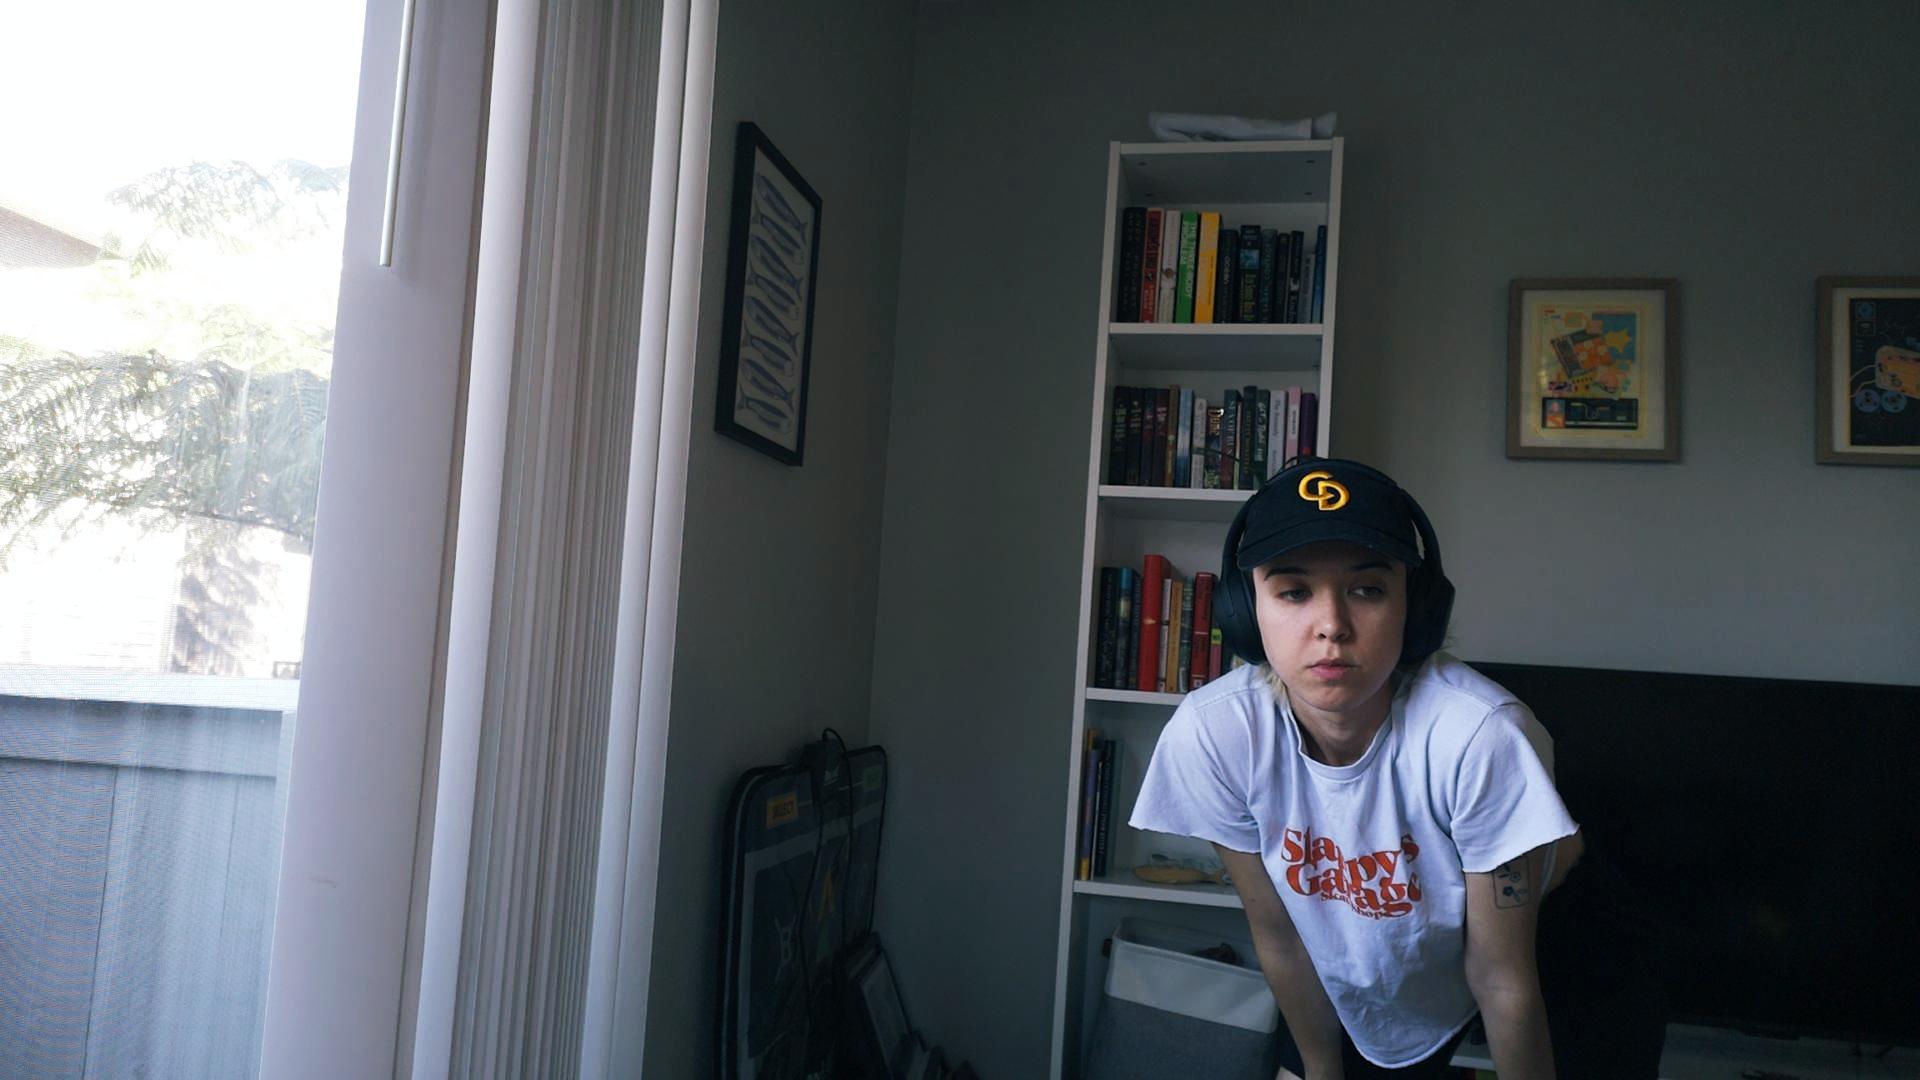
Up next...
Next steps for this project are going to be hardware heavy. This week I'll probably break out the 'ol breadboard and get an on/off switch working, and set up the code for a shutter button. I need to buy some new buttons with a better clicky feel before soldering anything to the RPi.
This project has been sooo much fun and a great learning excercise. Stay tuned for Part 2!
Comments (0)
No comments yet.