← Back to Allie's Digital Garden
Raspberry Pi Film Simulation Camera Tutorial 💻📸
Table of Contents
- Intro
- Supplies
- Finding Luts and Cube Files
- Setting up Raspberry Pi 4
- Setting up Camera Module
- Film Simulation Python Script
- Mounting a USB to Save Photos
- Attaching a Shutter Button
- Creating a Service to Run Python Script on Bootup
- Power Source
- Putting it all Together
- Success!
- Photos!
Intro
The last few months I've been working on making a film simulation camera with a Raspberry Pi 4. I recently finished it up, and want to share my process in case anyone else wants to give it a go.
I learned a TON during this process. It's definitely not the best code I've ever written, or the best hardware work I could do, but it works and that's extremely exciting considering I had never done anything so extensive with a RPi before.
I plan to make a second one for myself (this one was a christmas gift) and do a lot of things differently based on what I learned this time around. So for all intents and purposes, this was Prototype 1.0
Supplies
- Raspberry Pi 4
- Raspberry Pi Camera Module 3
- Momentary Push Buttons
- Soldering kit
- Power bank
- Leather, cork, and other crafting materials from Michael's for aesthetics
- Mini Dremel
Finding Luts and Cube Files
I found my cube file here for free. There are tons of different kinds to pick from! Make sure to download one with a .cube file type.
Setting up Raspberry Pi 4
I followed the official Raspberry Pi Setup Instructions.
Small note: When creating the user on my pi, I used a custom username. Often people use just pi as the username, so you'll see many tutorials using pi.
Setting up Camera Module
I used this video to learn how to physically insert the camera module. Seems really simple, but I was really scared of screwing up any hardware.
In short:
- Gently pull the black part of the connector up a bit to create an opening
- Insert the camera module ribbon into the connector
- Gently press back down on the black part until it snaps into place. It takes a bit of finagling
I put the camera module in facing the wrong direction the first time, no big deal. Just turn your RPi off, flip the module, and power back up.
You can test that your RPi is detecing your camera module by running:
vcgencmd get_camera
if the output looks like this, or similar, you're in business!
supported=1 detected=1, libcamera interfaces=0
Film Simulation Python Script
Creating a Virtual Environment
It's recommended to use a virtual environment when creating python programs on your Raspberry Pi. This prevents any packages you install from conflicting with system packages and screwing up your system.
I used Venv and followed their setup instructions
Important: When running the setup command, make sure you include the --system-site-packages flag! We'll be using a package that requires Libcamera, which is a C++ package and cannot be installed into our venv with Pip. Libcamera comes already installed on Raspberry Pi's on the latest OS.
Photo Script
Go ahead and install these packages using pip (if you don't have pip installed, go ahead and do so before installing these!)
This is the fun part! I've included my full code in this GitHub Repository. Feel free to steal and tweak as you see fit!
I included this script file and the filter cube file at the same directory level as as my env virtual environment folder.
I ran out of time to write my own graining function, so I opted to use the Filmgrainer package. I'd recommend not doing this -- this was a shortcut I took to save time since I was on a deadline with this. I'd recommend writing your own grainer if you can since the grain values will stay the same for every photo. Filmgrainer is a better tool for if you want to easily change the levels. That being said, it's a great tool to use to figure out what you want your permanent levels to be!
Mounting a USB to save photos to
The script I used saves the photo taken to a USB. I used this USB, but really any small USB will work. Depending on the type of USB you purchase, the mounting process might be different.
We want to mount the USB on startup, so we don't have to worry about manually running a command to mount it every time we want our script to run. That physically will not be possible once the build is complete.
To do this we'll need to edit the fstab system file.
I referenced this article heavily while doing this, and would recommend you do the same!
Go ahead and plug in your USB and follow the steps in the above article. The added line in my fstab file ended up looking like:
UID=XXXX-XXXX /mnt/usb exfat uid=1000,guid=1000,umask=0022,sync,auto,nofail,rw 0 0
The first time I did this, I crashed my Raspberry Pi and sent it into Emergency Mode, essentially making it a brick. If this happens to you don't panic. Follow these instructions! You can avoid all of this to begin with by including nofail in your fstab, like my final version above includes.
Attaching a Shutter Button
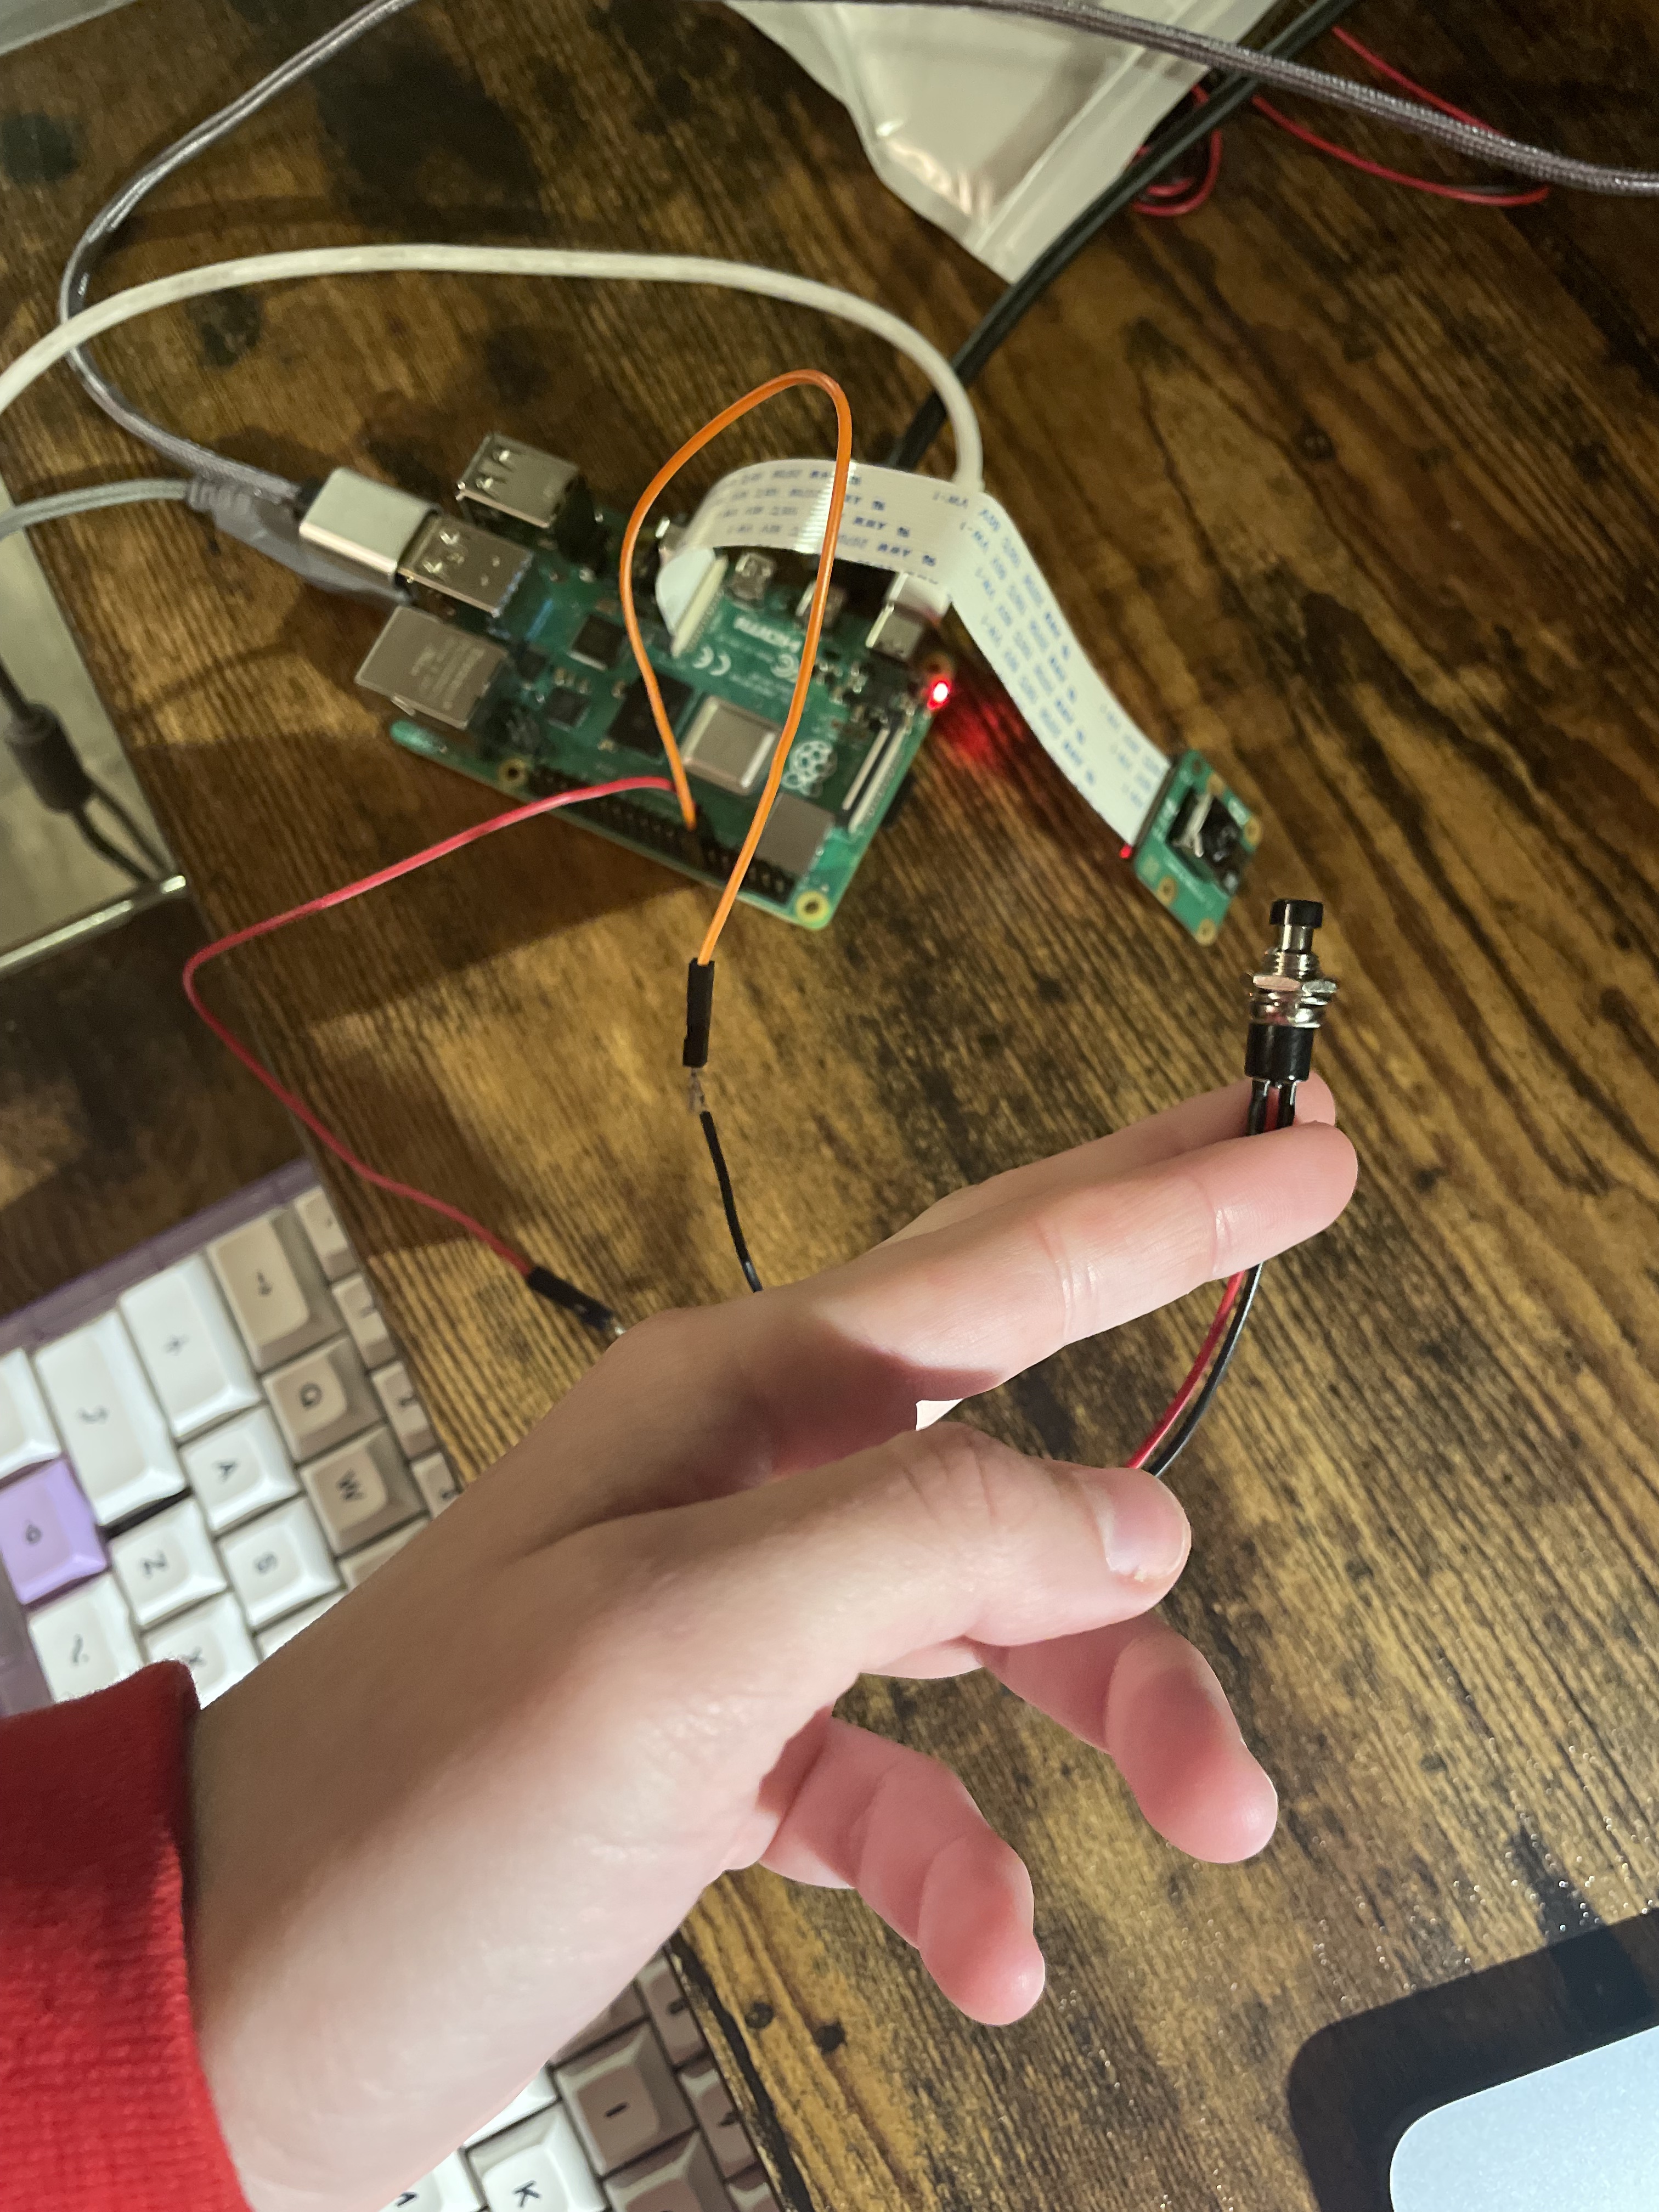
I soldered a push button to pins 27 (GPI0) and 14 (ground) to use at the shutter button. I used this diagram to pick which pins I wanted to use. It doesn't really matter which pins as long as one is a ground pin and one is a GPI0 pin. If you are new to soldering, I'd strongly recommend watching a few youtube videos about it! There's plenty of resources out there.
Creating a service to run Python script on bootup
There are many ways to start a script on bootup, I opted for the systemd service route.
I lightly followed these instructions to set up my service file. My final cam.service file looked like this:
[Unit]
Description=Camera Startup
After=multi-user.target

[Service]
Type=idle
User=<RPI USERNAME>
WorkingDirectory=/home/<PATH/TO/PROJECT/FOLDER>
ExecStart=/home<PATH/TO/PYTHON/TO/PYTHON/IN/VENV> take_photo.py
Restart=on-failure

[Install]
WantedBy=multi-user.target
In the ExecStart property, make sure you run your python script using the version of python that is installed in your project venv.
If you opt for the systemd route like this, make sure that all paths in your python script are absolute, otherwise the service runner will not be able to find your referenced files.
Power Source
Now we're getting into the hardware side of things. This was the most difficult part of the entire project for me as I'm not really a hardware person. But I am crafty and I refuse to quit on a craft 💪😤
I had a hard time figuring out the best way to handle a portable power source for this project. I ultimately went with the most low effort one because time was seriously running out by this point in the process. I decided to just use a power bank. This was really not ideal because it made the camera way bigger and bulkier, however it would make it easy for the camera to be turned on and recharged.
it's not recommended to cut power to the RPi as a way to turn it off, but I decided to just live with the relatively low risk of SD card corruption for this project.
I used this power bank. The only real criteria is that it needs to have at least 5V of power.
Putting it all Together
To be honest, putting all these pieces together into the least ugly looking end product I could took me the longest time. And I mean long as in like...weeks.
I used a Ninoka NK700 Camera as my base. Originally in my naive stage of this project I thought that everything would just fit inside this little toy camera and I wouldn't have to figure out extending it in any way. I was extremely wrong.
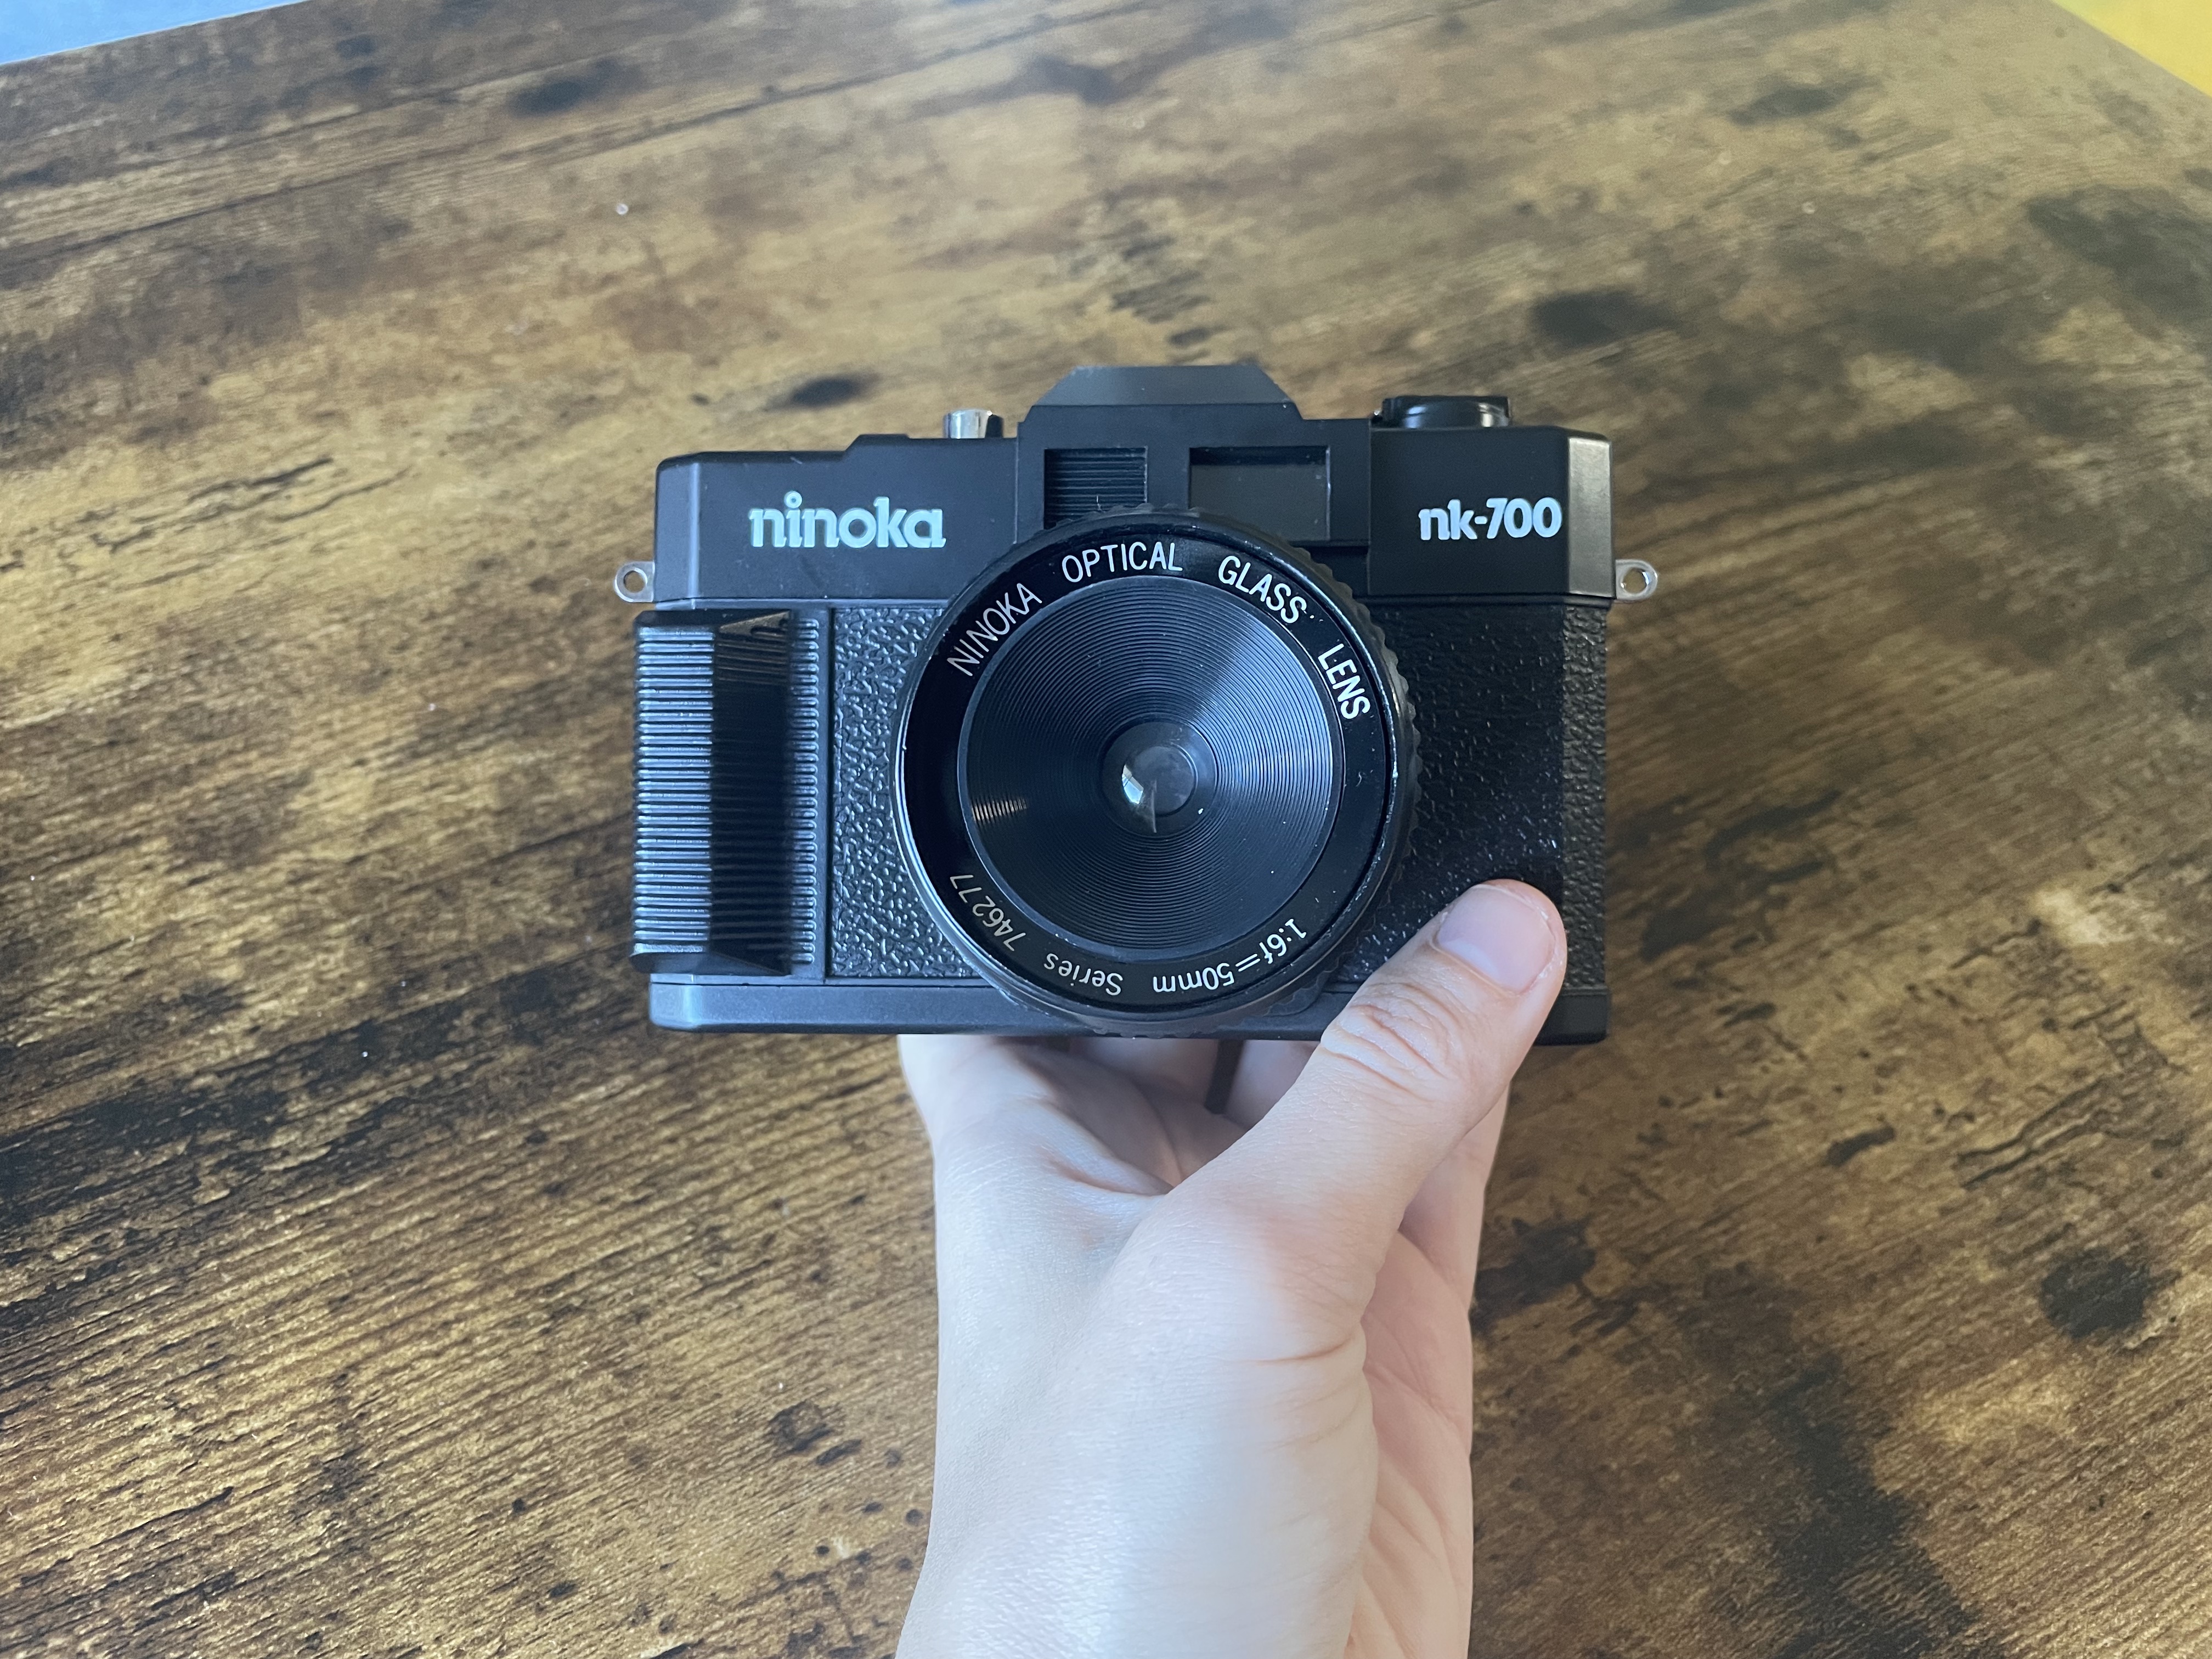
I used a dremel to gut out the plastic insides of this camera. This took...a long time 🙃
Then I created a base extender out of styrofoam because the RPi was too large to fit in the body of the camera.
After that I created a little box to encase and stick the powerbank to the side of the camera.
The specifics of how I got this all together aren't super relevant to this project because it was extremely hacky. I basically just super glued a bunch of things together until it resembled a camera. I was absolutely making last minute Michael's runs the night before I gifted this camera!
Success!
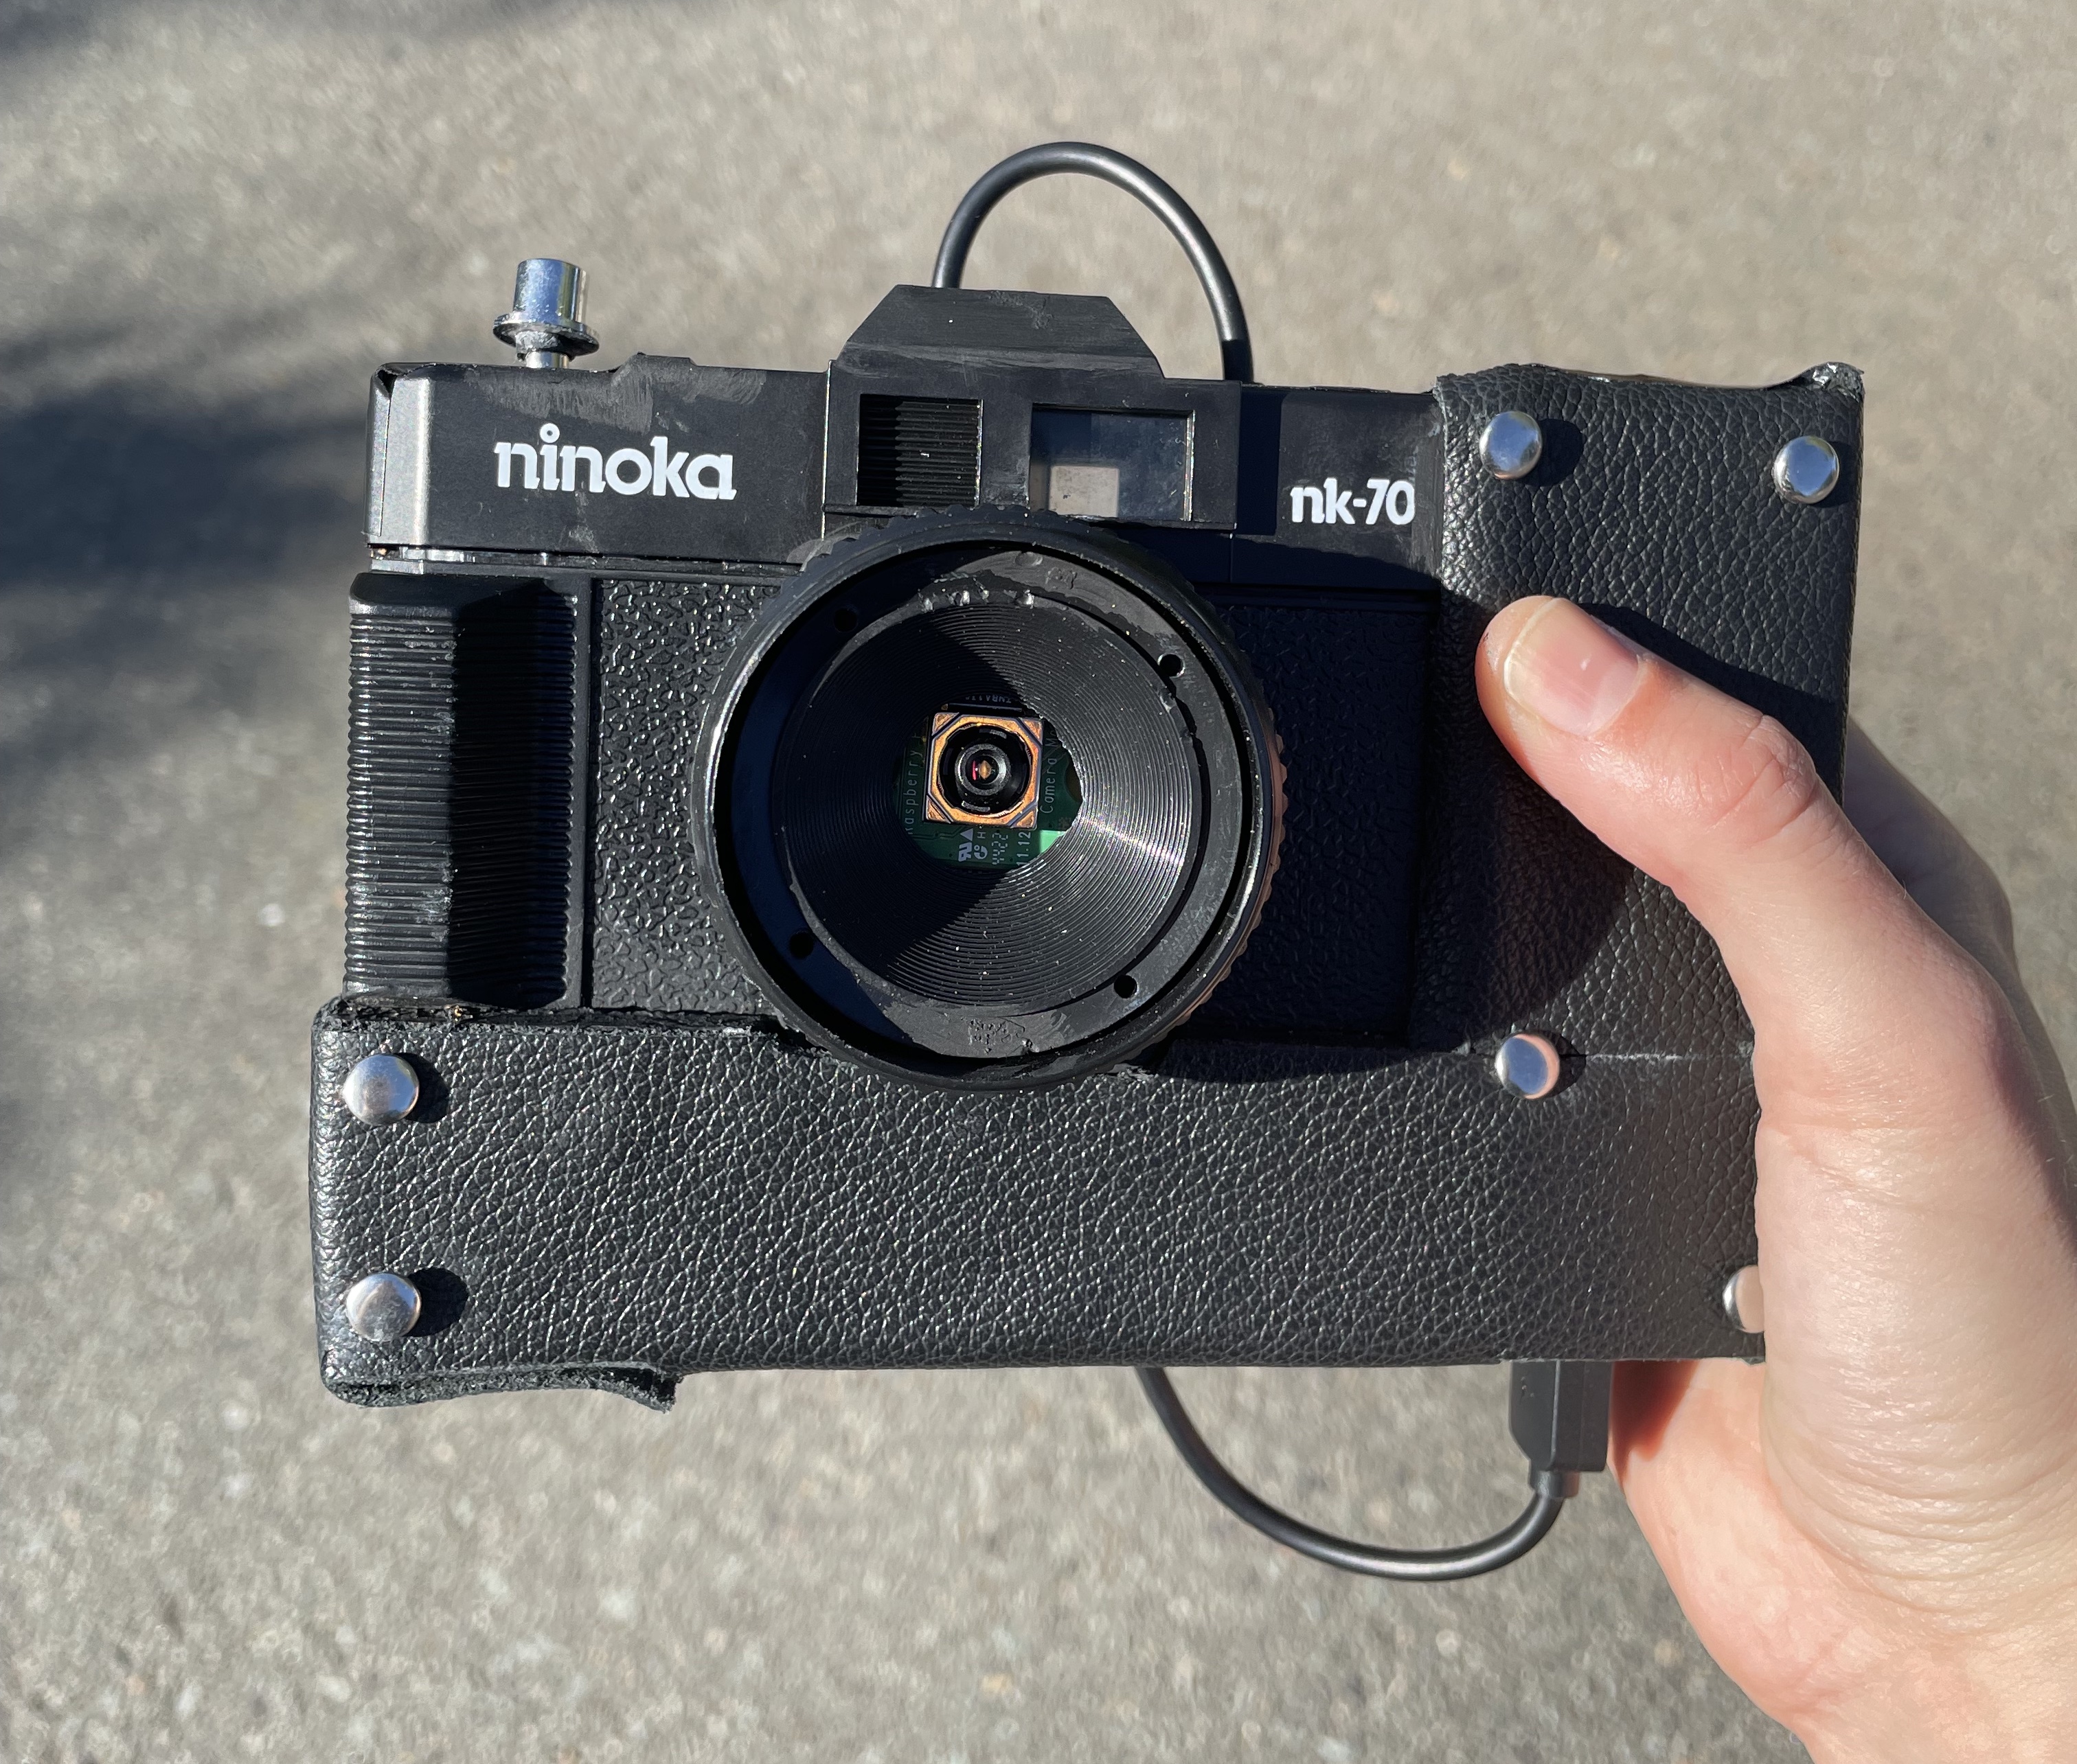
Finally finished!! It's a bit goofy looking, but considering this is the first time I've ever done an RPi project even remotely as complicated as this one, I'm super proud! This project had a bunch of bumps in the road that didn't even get a mention here (breaking the camera module and having to overnight another one, all my photos coming out fully white, etc etc etc), so all in all I'm super proud of actually getting this to work!
I learned so much during the process of building this. Some things that I already know I want to do differently for the next camera I make are:
- make my own custom case for it (either 3d printed, or crafted in some other way). Trying to fit things inside of an existing film camera was a real pain in my ass, it would be much easier to just build something from scratch
- Use a different, smaller power source. Either batteries or the PiHat
- Use the RPi Camera Module HQ that you can attach a C-mount lens to. Either that or try to remove the autofocus lens on a normal Camera Module and use a film lens on top of it.
- This will require adding a screen to the build so you can see when you are focused and ready to take a photo
I'm super happy with my end product for this first creation, and am so excited to start the next one!
If you attempt this project and need help, or have any tips for me for my next build, please reach out to me at alliecaton3@gmail.com ❤️
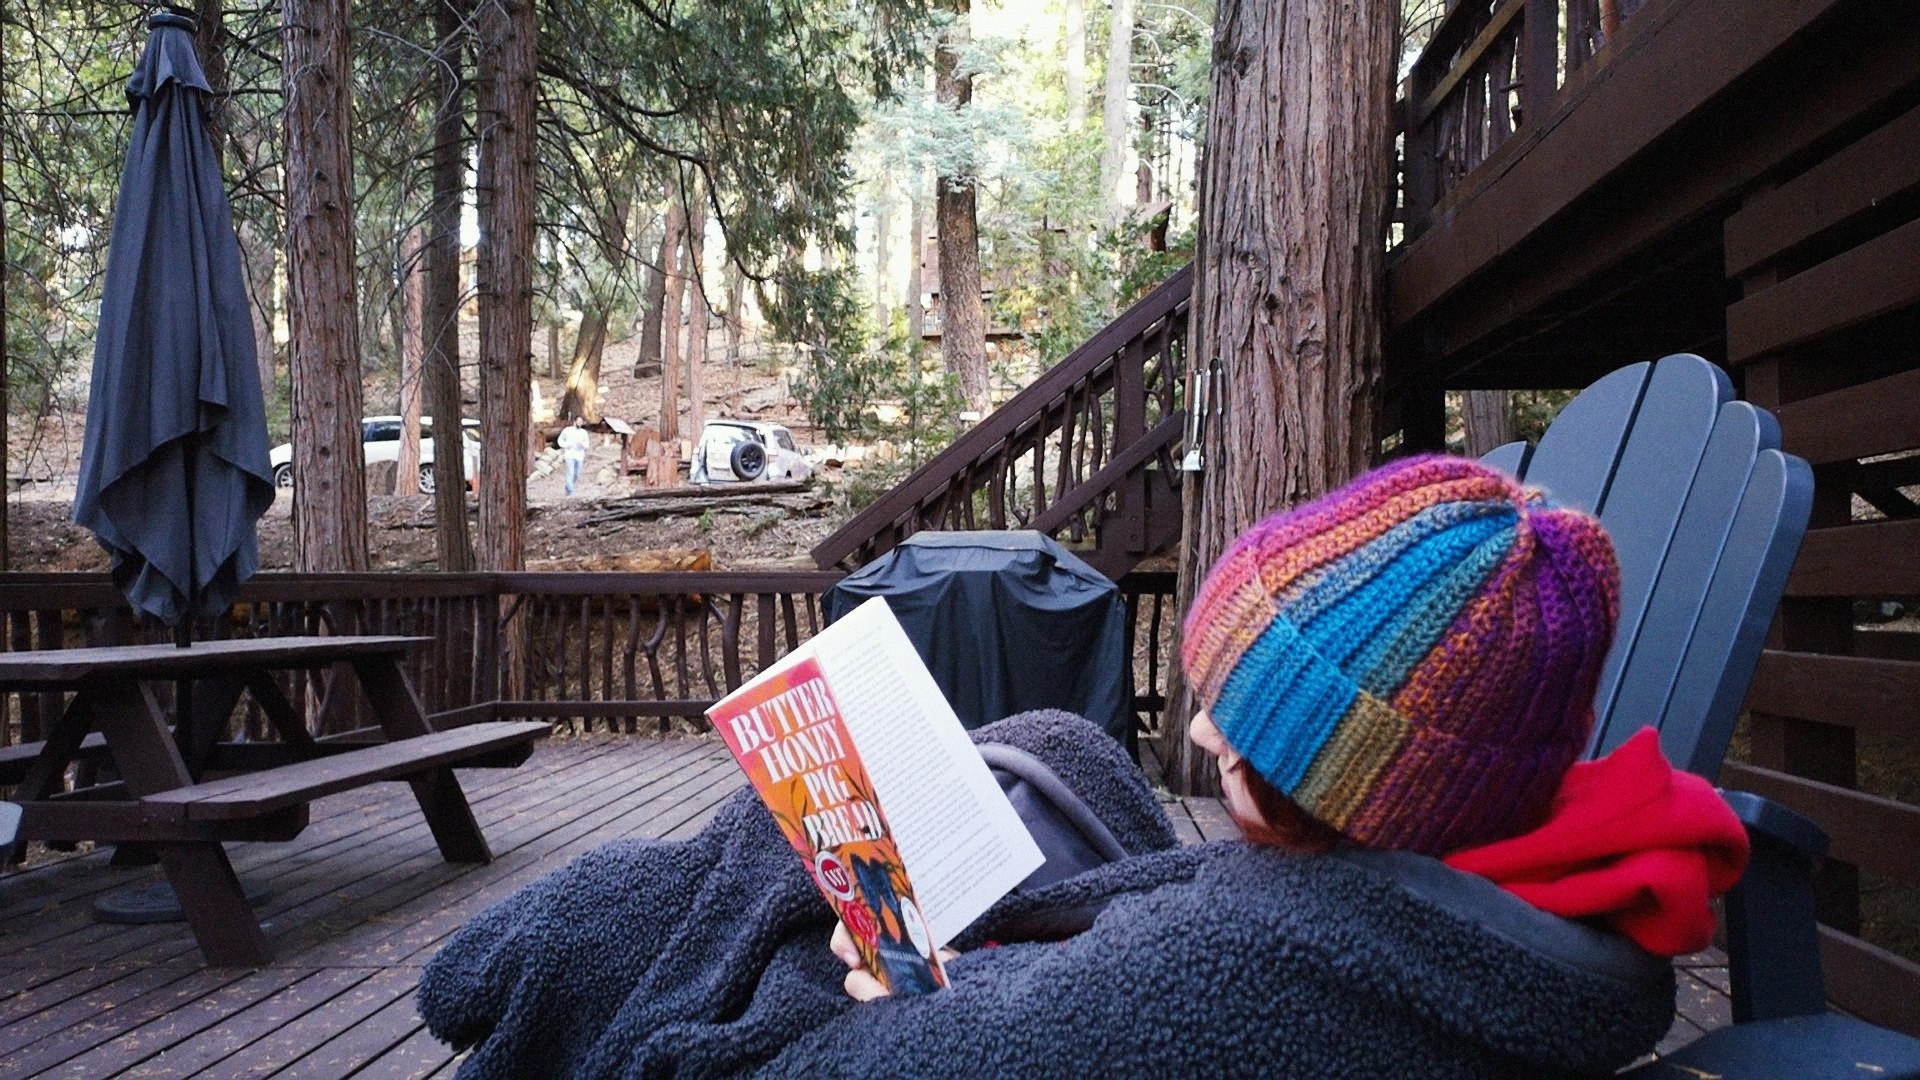
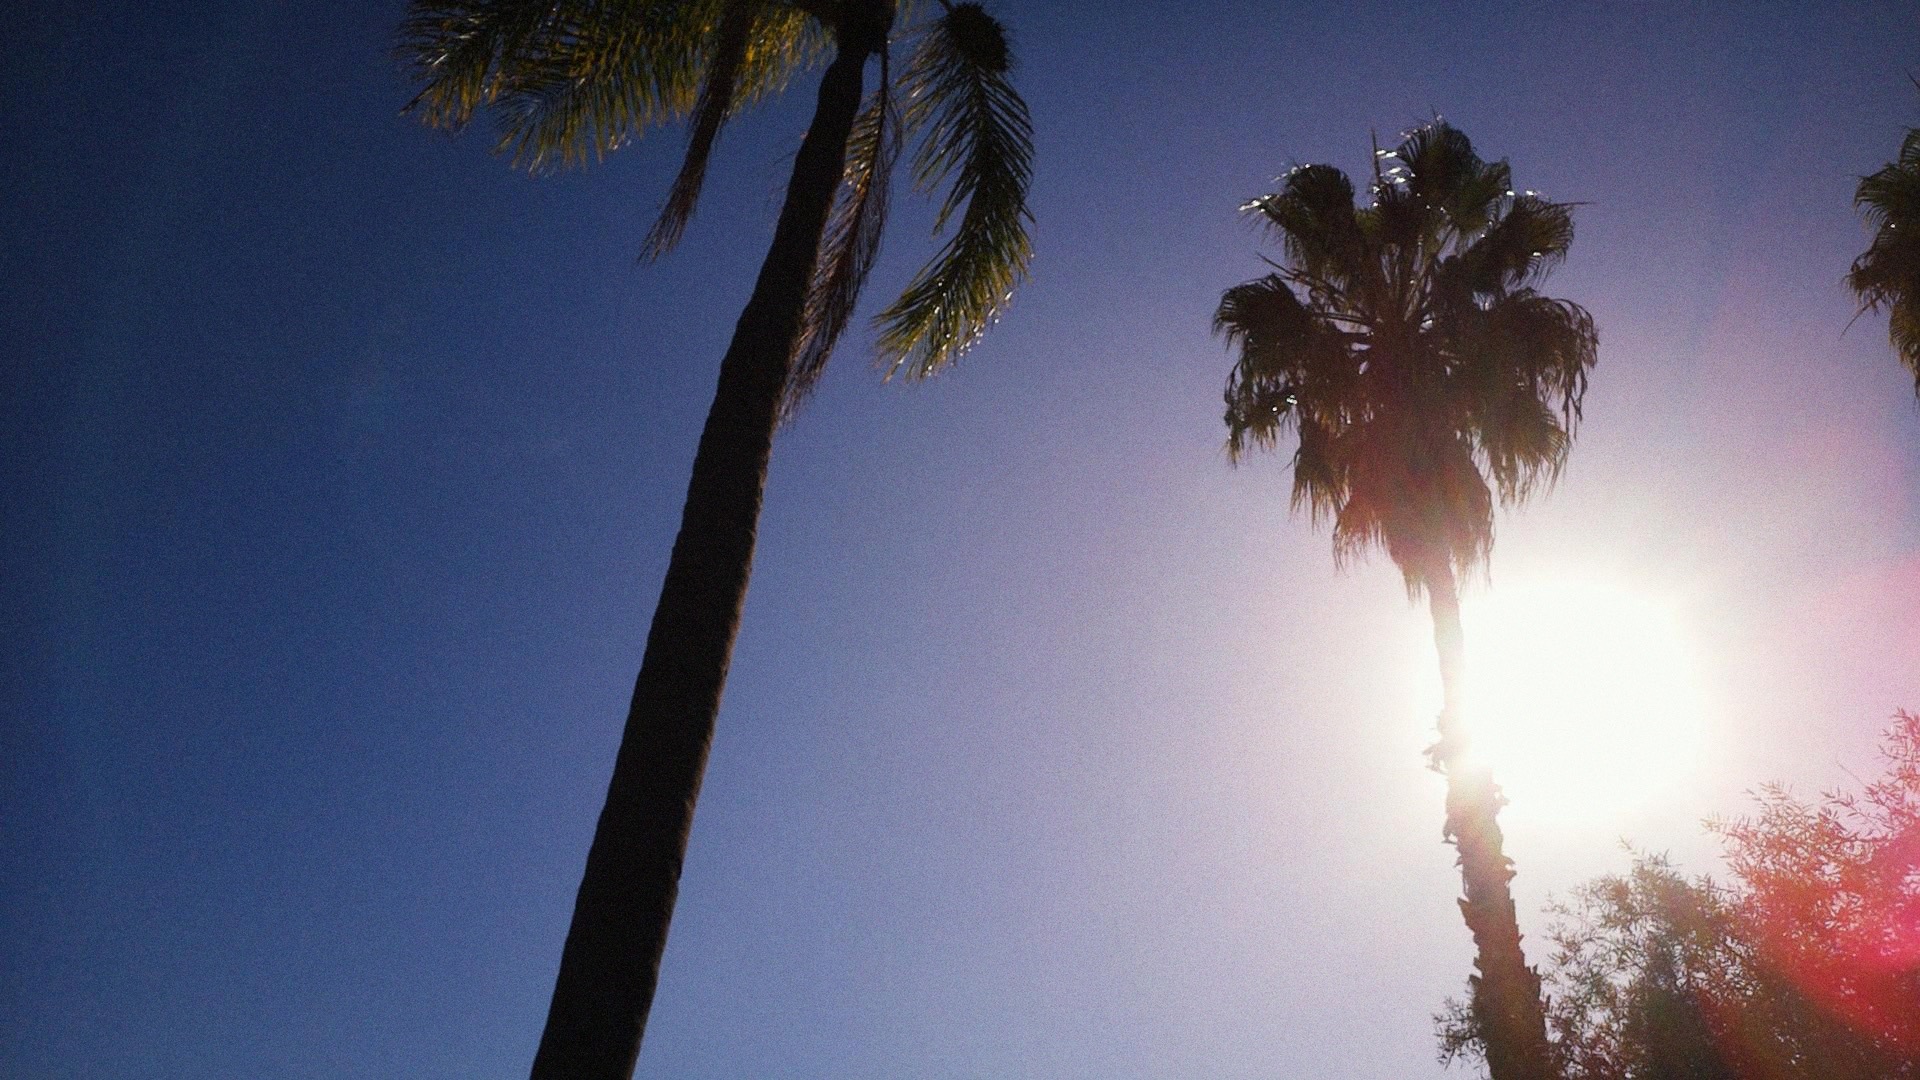
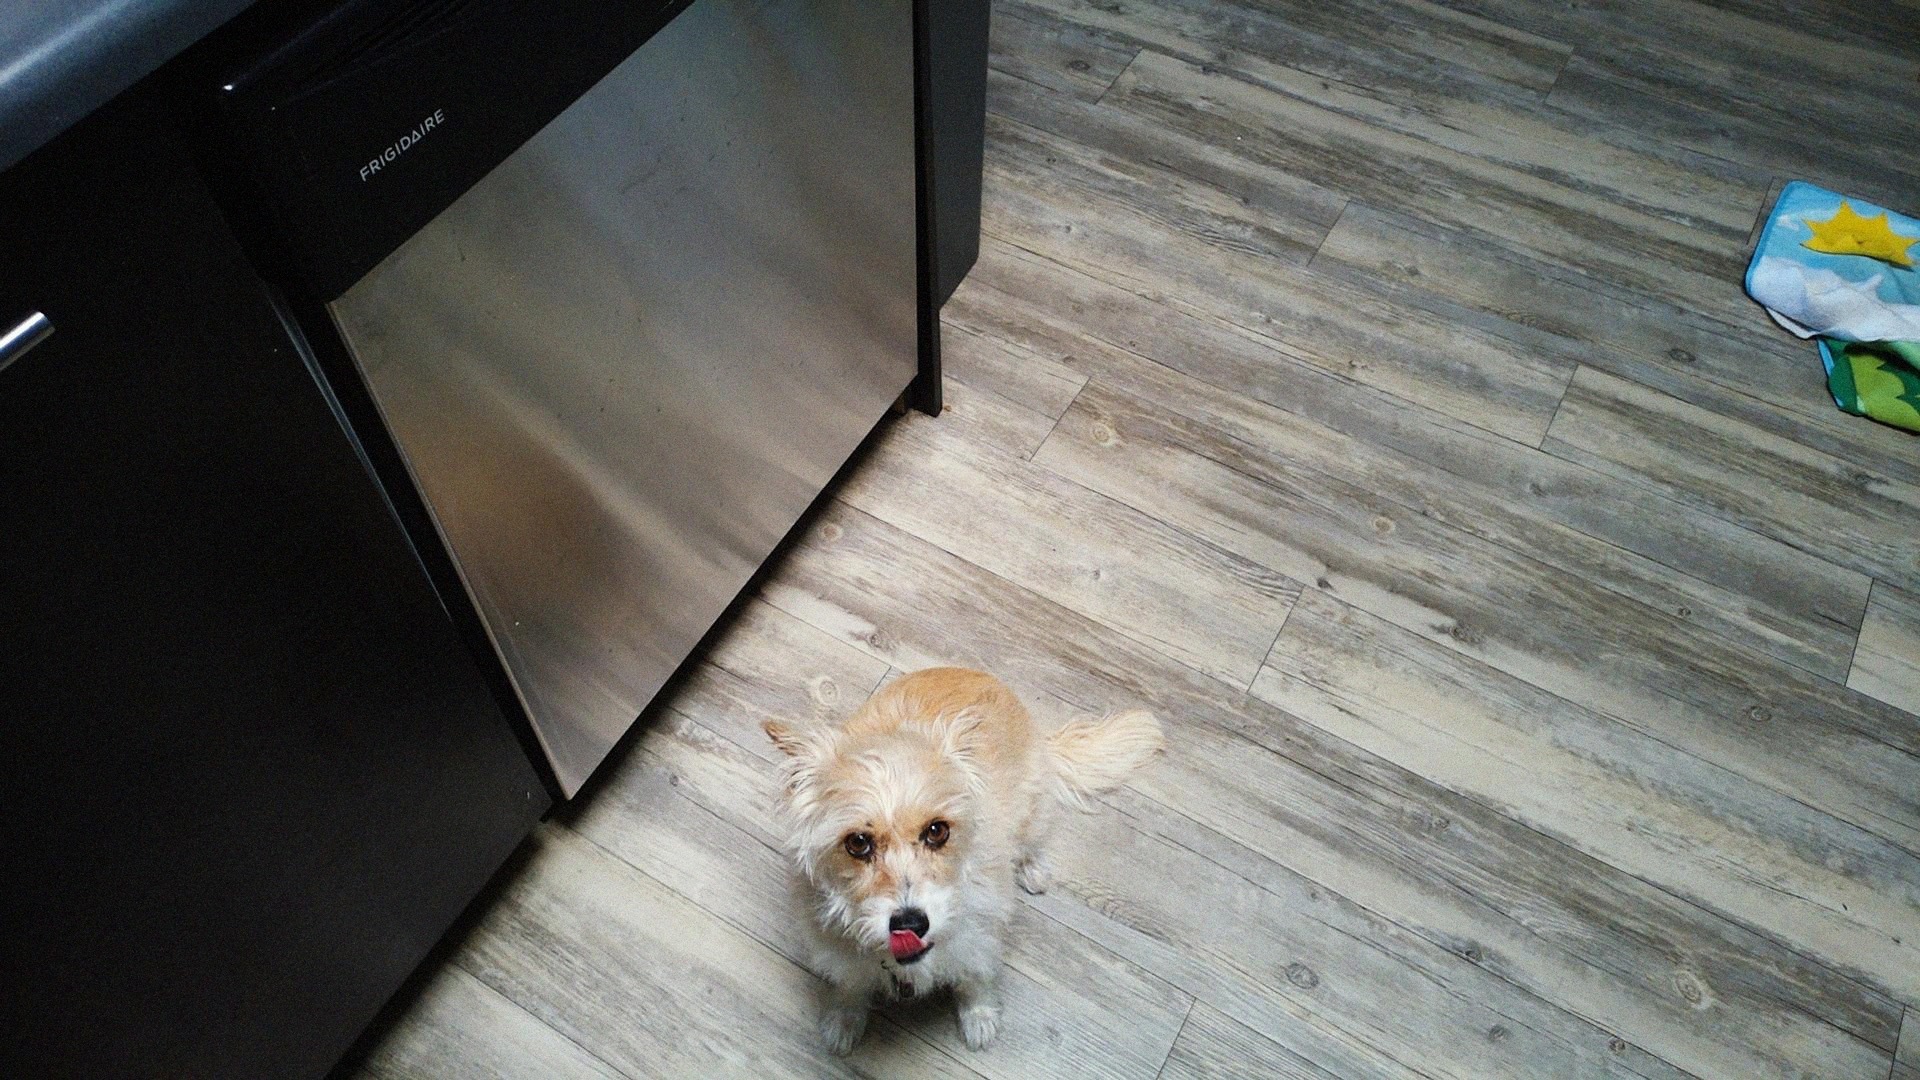
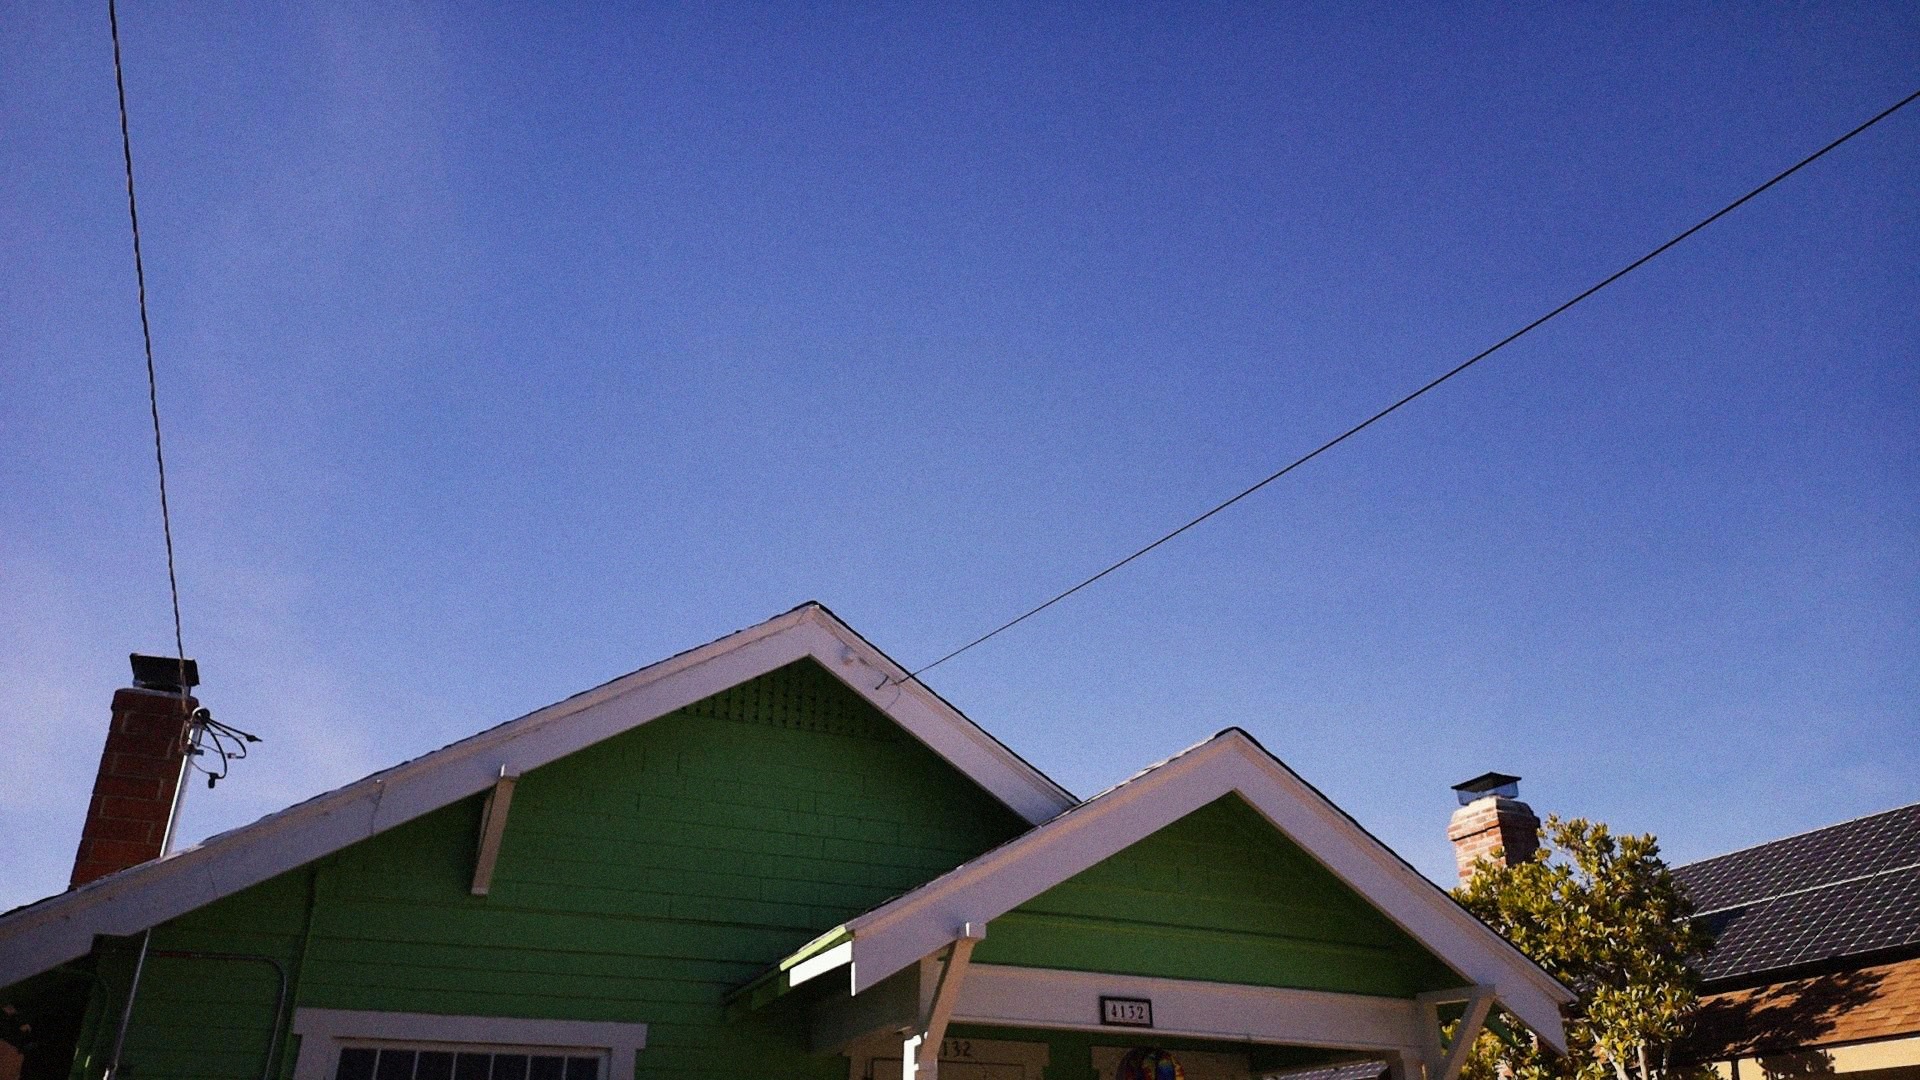
Photos!
Comments (0)
No comments yet.